How to create an AWS IAM user and S3 bucket
This guide shows you how you can set up an IAM user and S3 bucket in AWS, a prerequisite step for taking backups to S3 or configuring ClickHouse to store data on S3
Create an AWS IAM user
In this procedure, we'll be creating a service account user, not a login user.
-
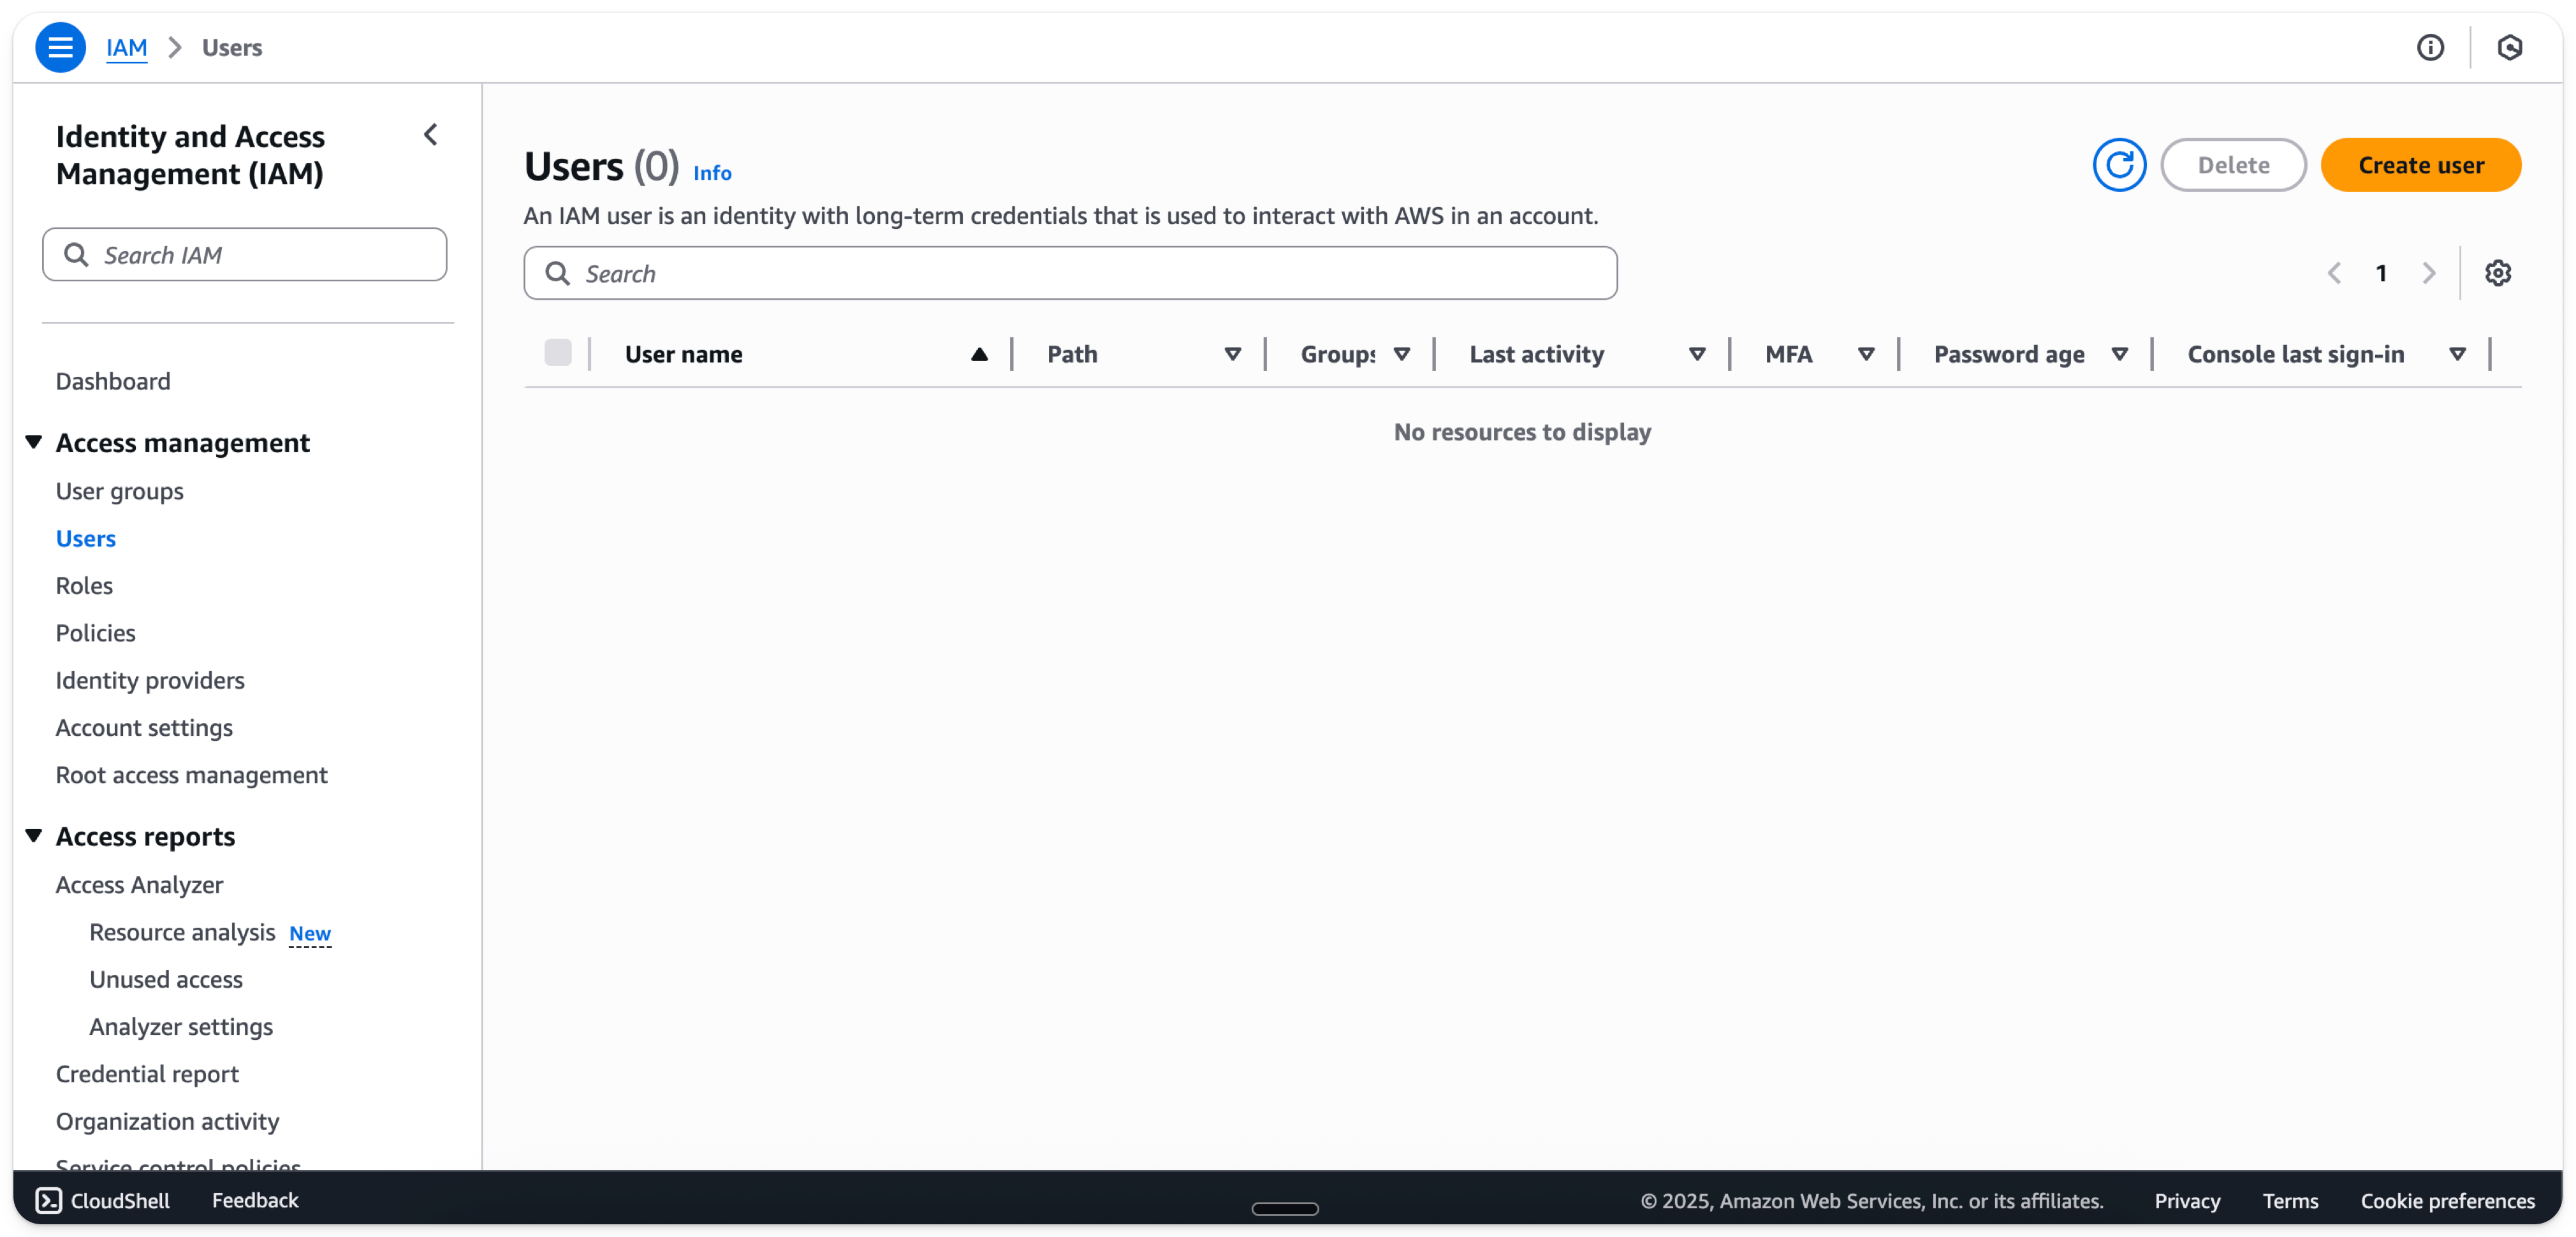
Log into the AWS IAM Management Console.
-
In the
Userstab, selectCreate user
- Enter a user-name
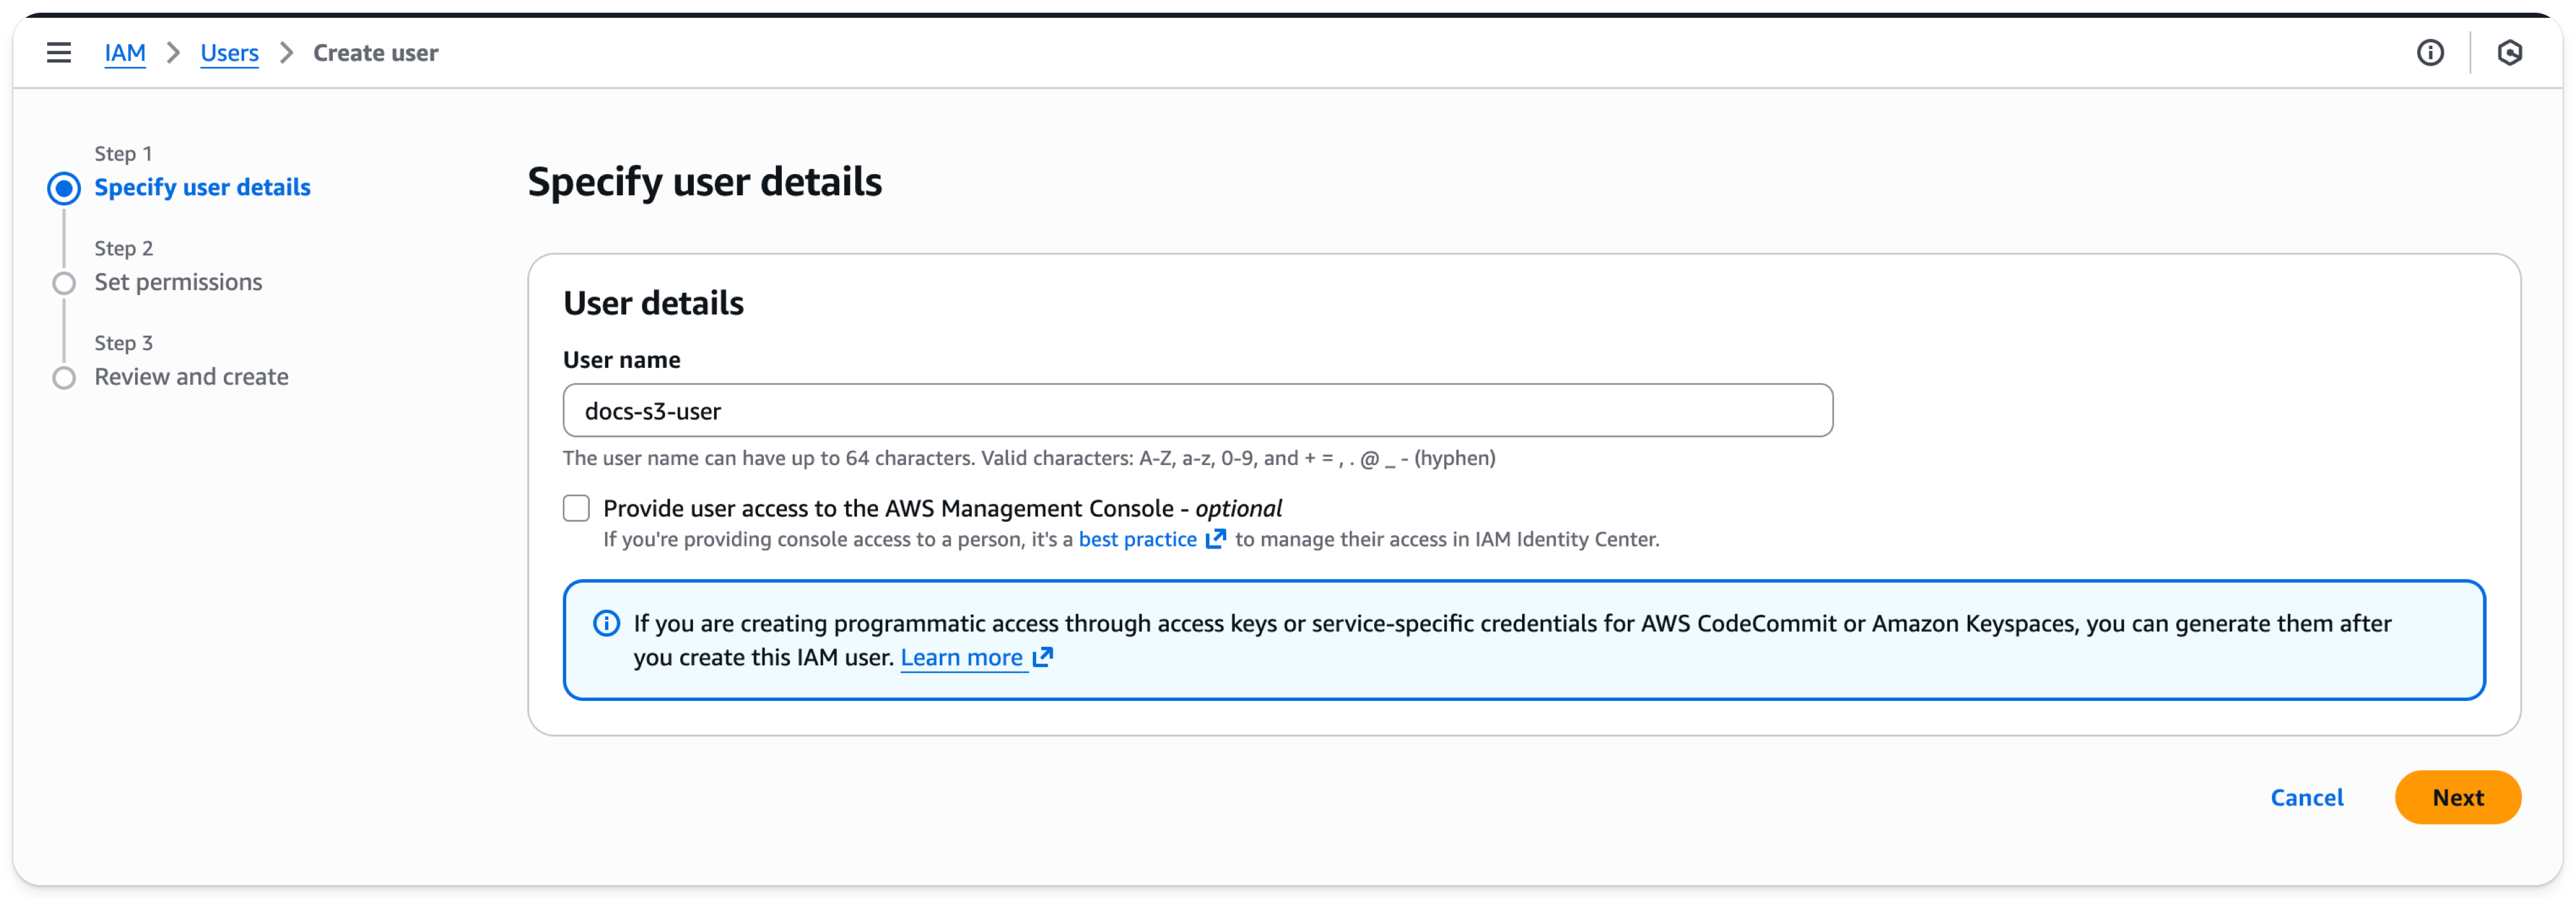
- Select
Next
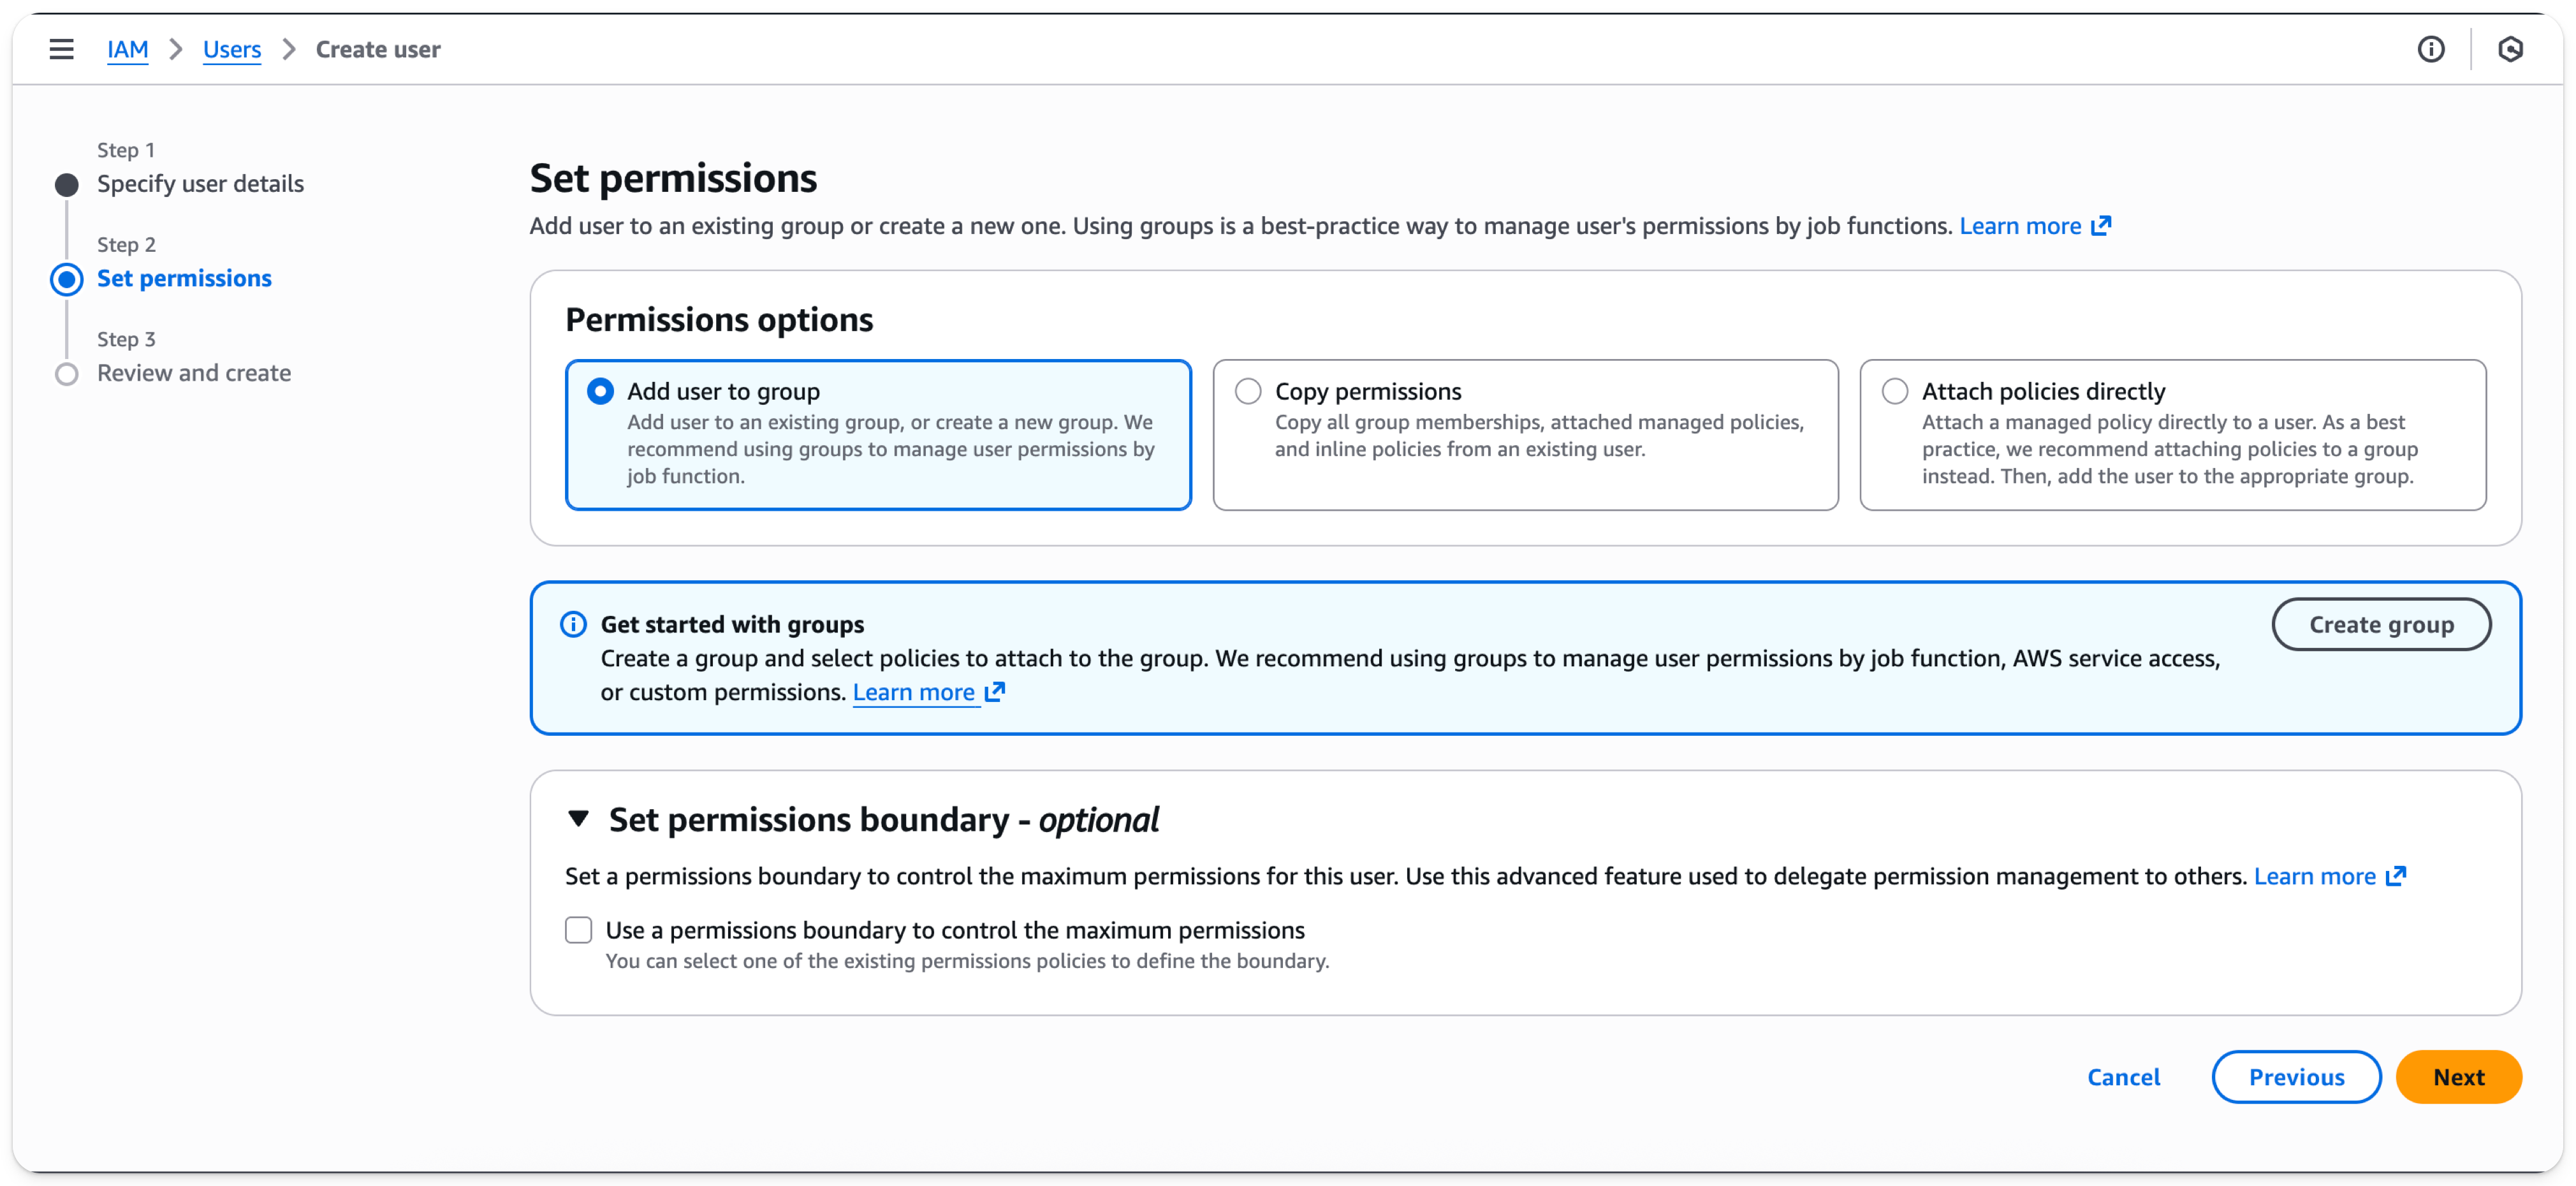
- Select
Next
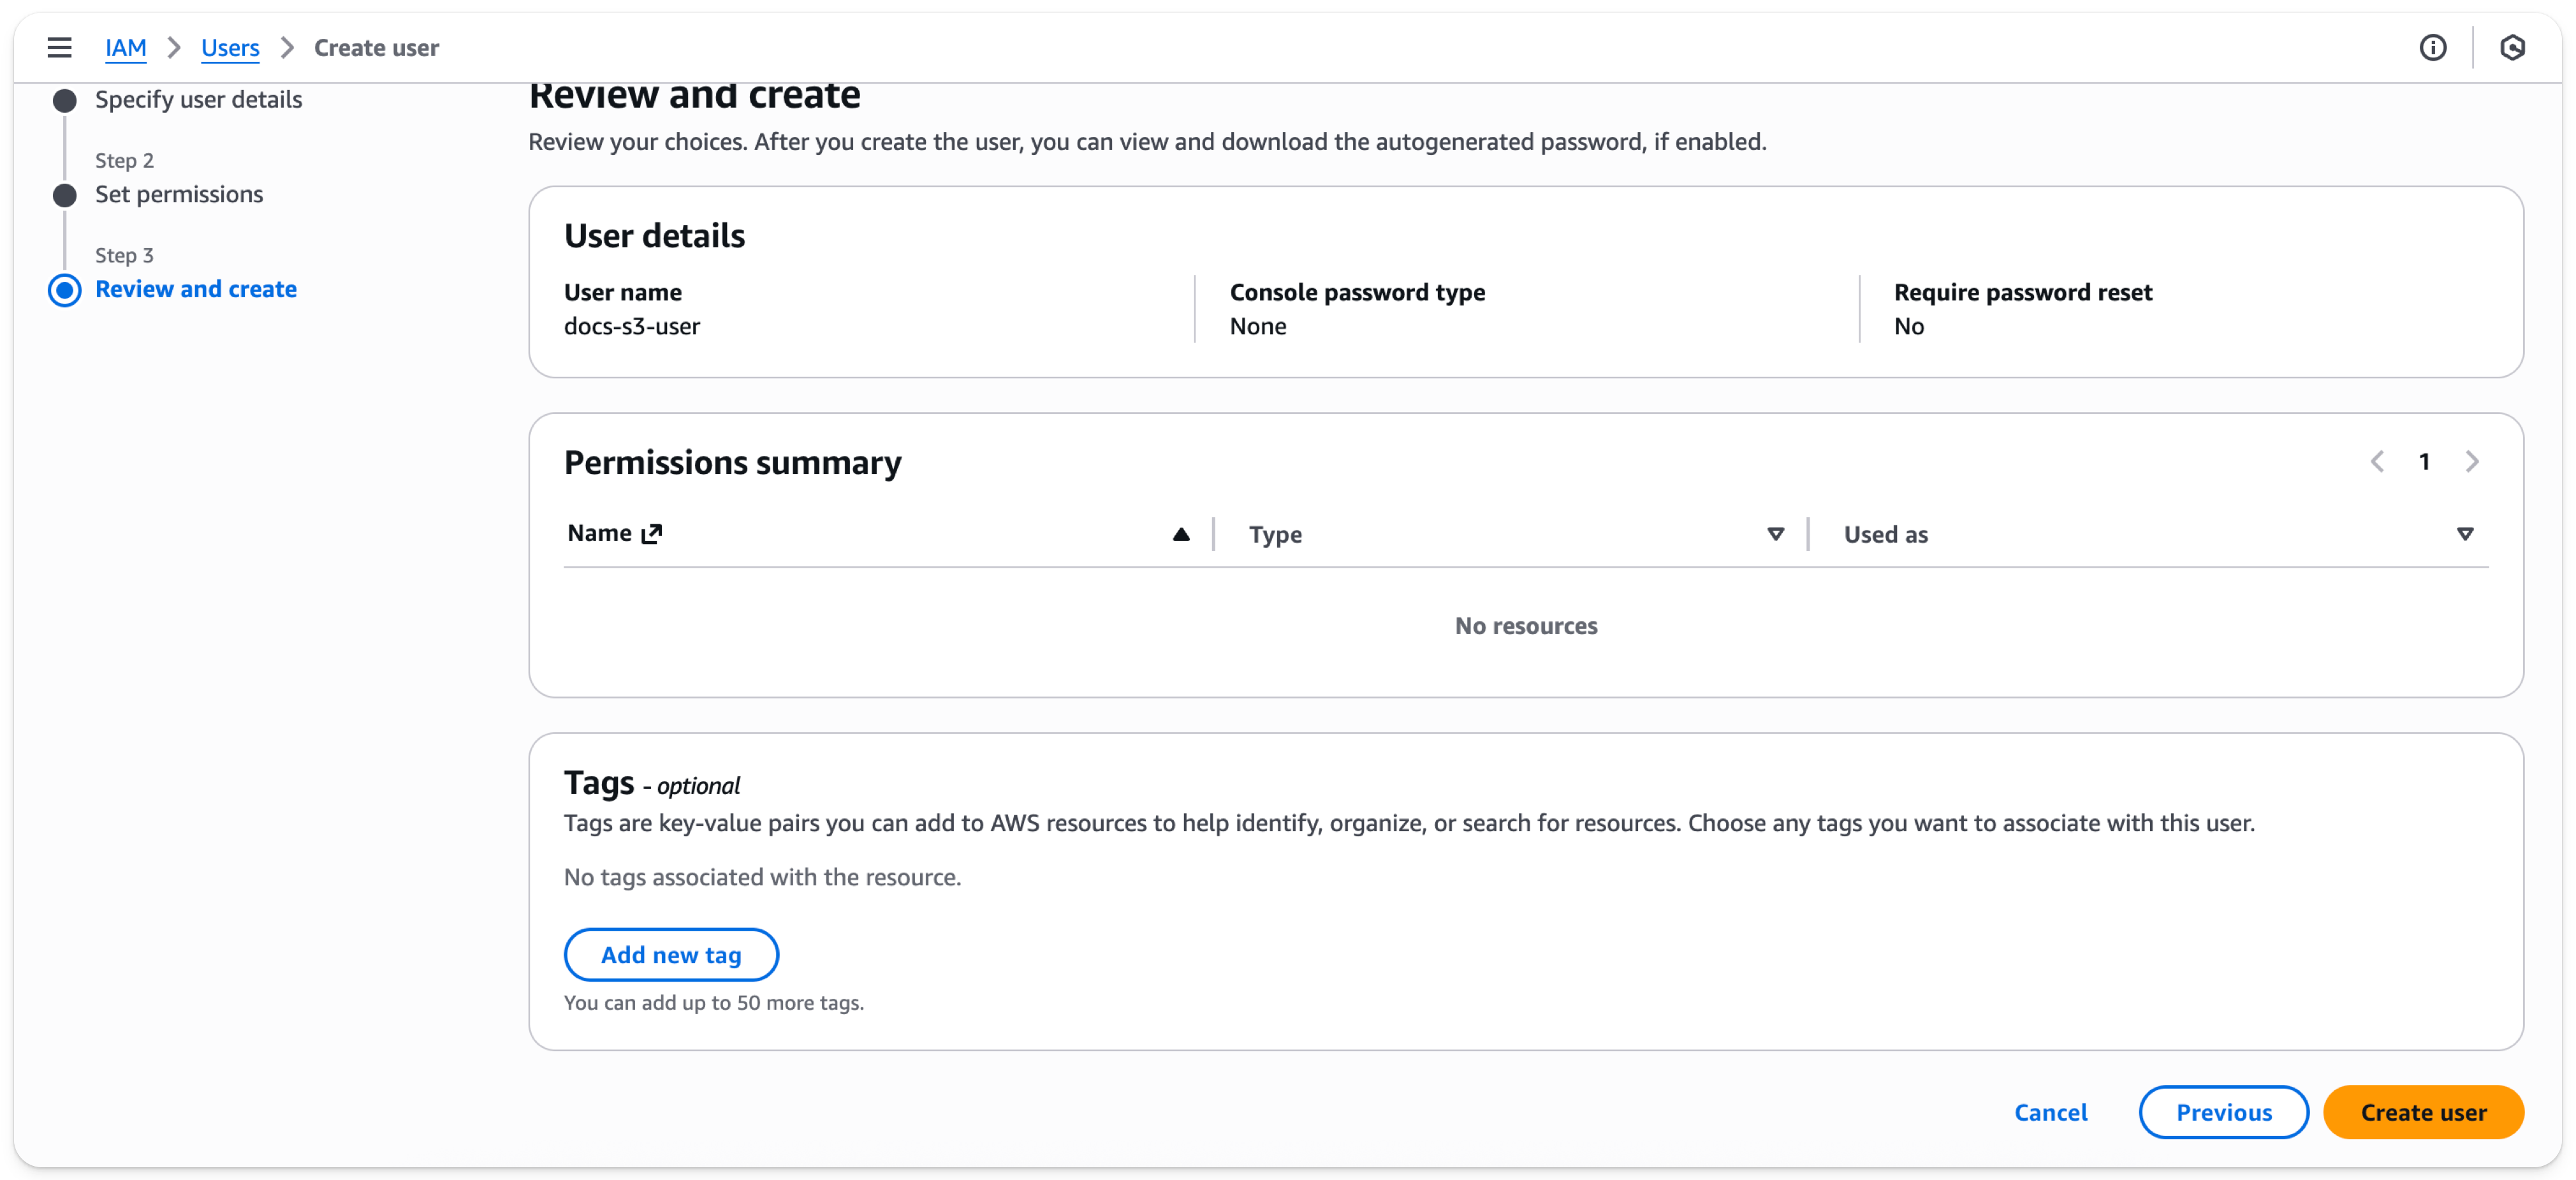
- Select
Create user
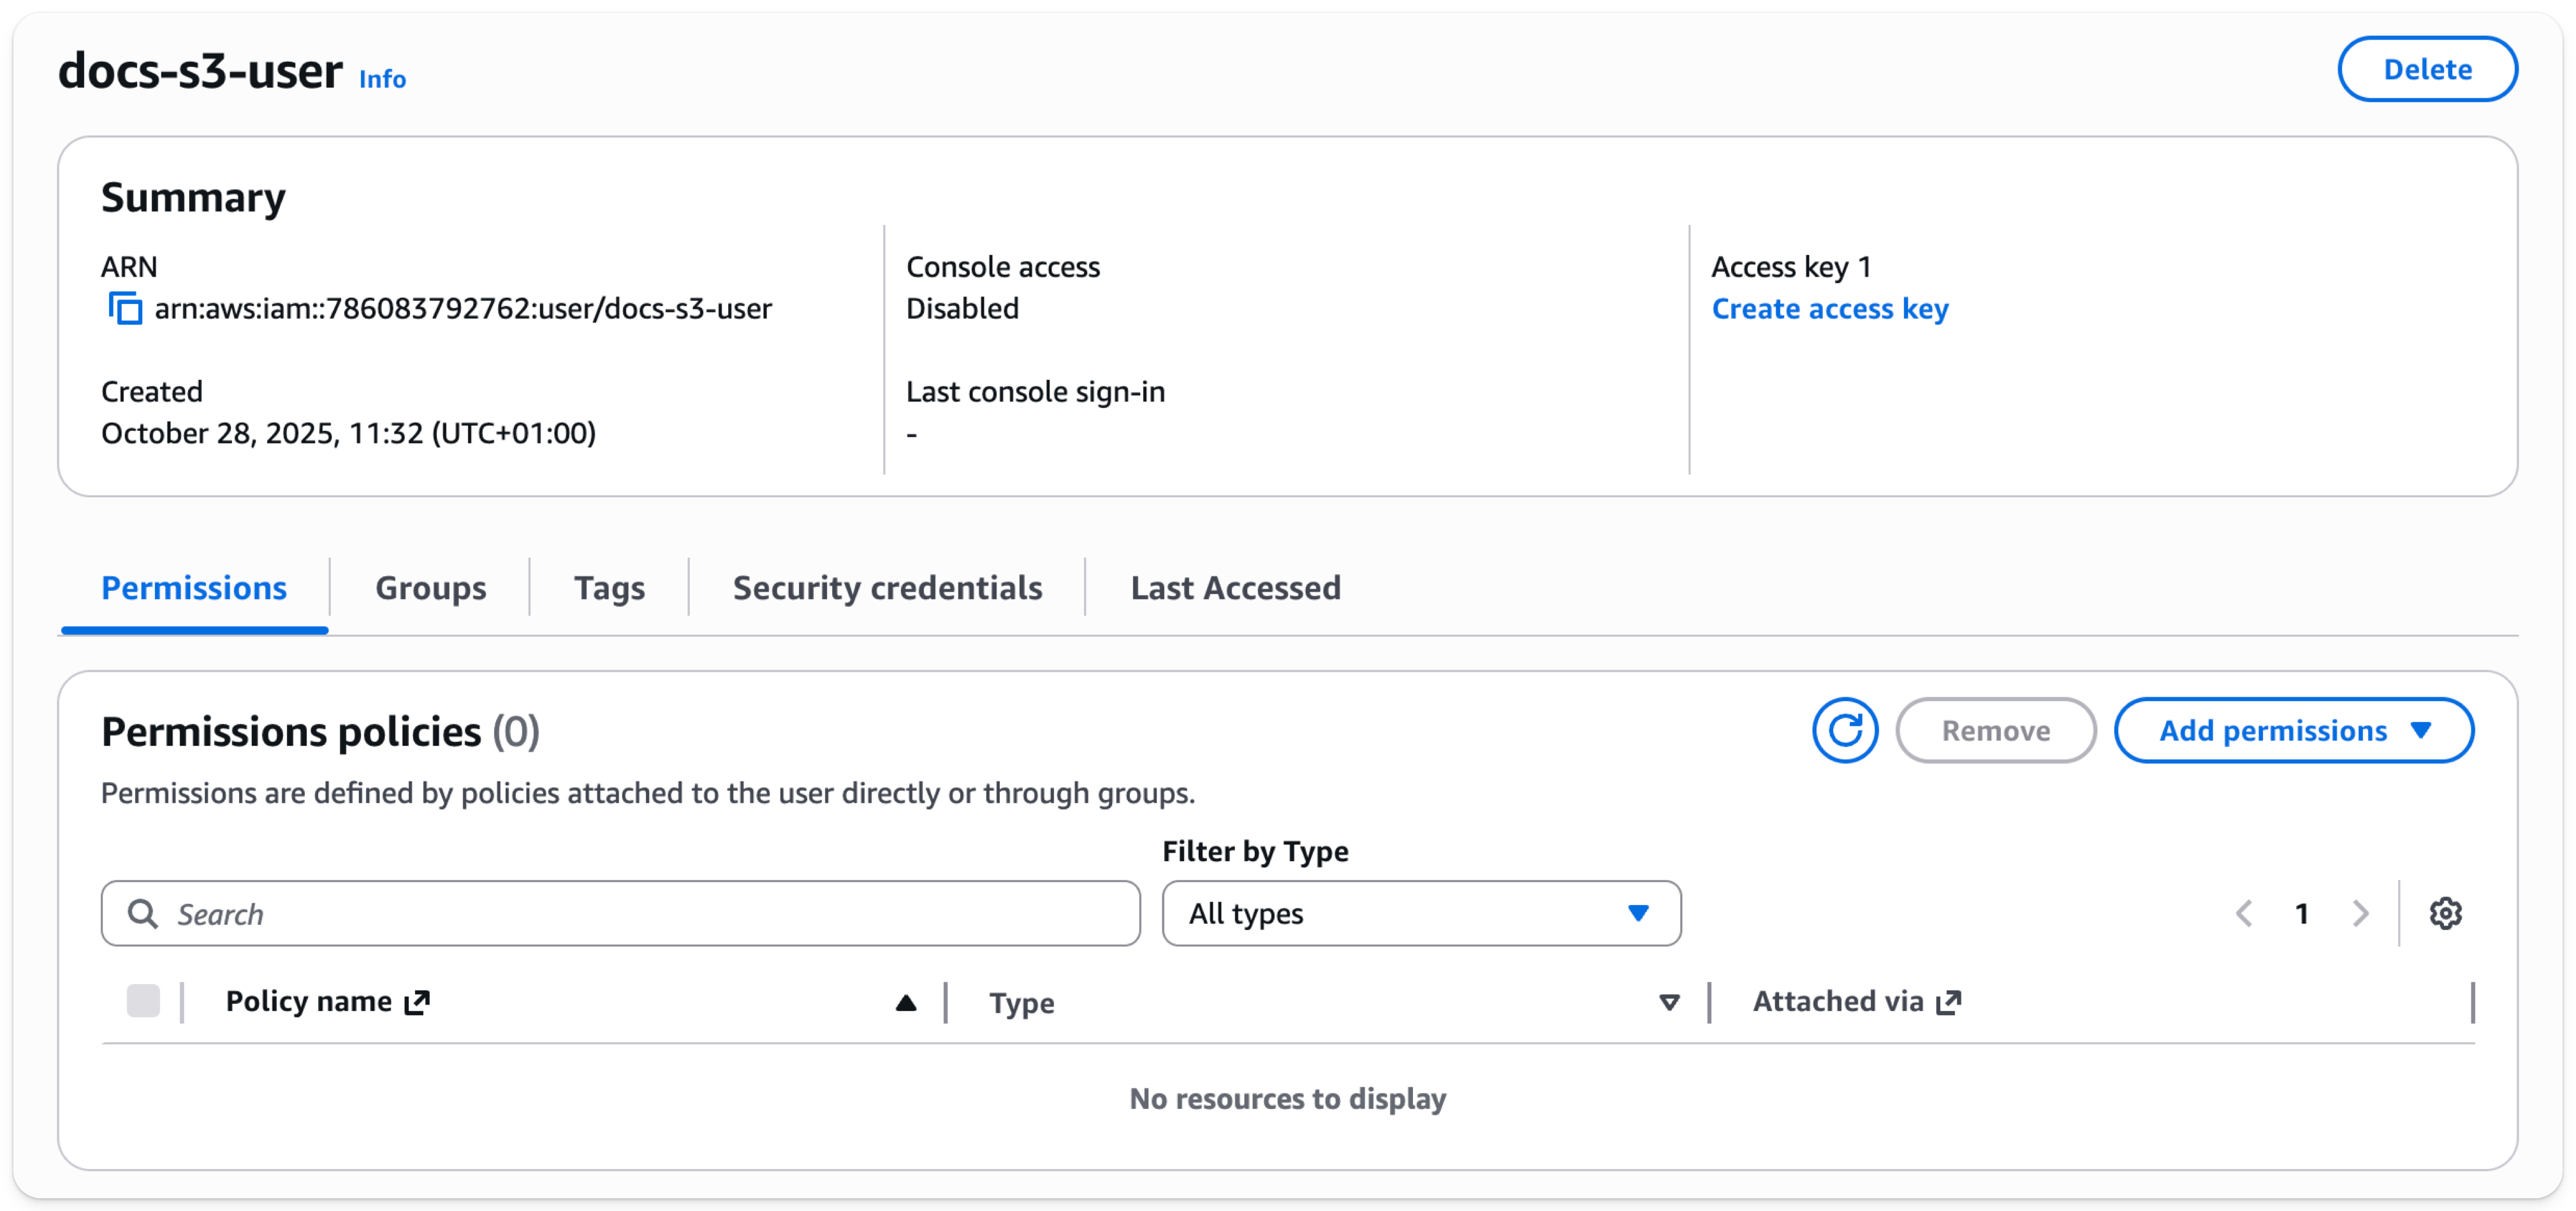
The user is now created. Click on the newly created user

- Select
Create access key
- Select
Application running outside AWS
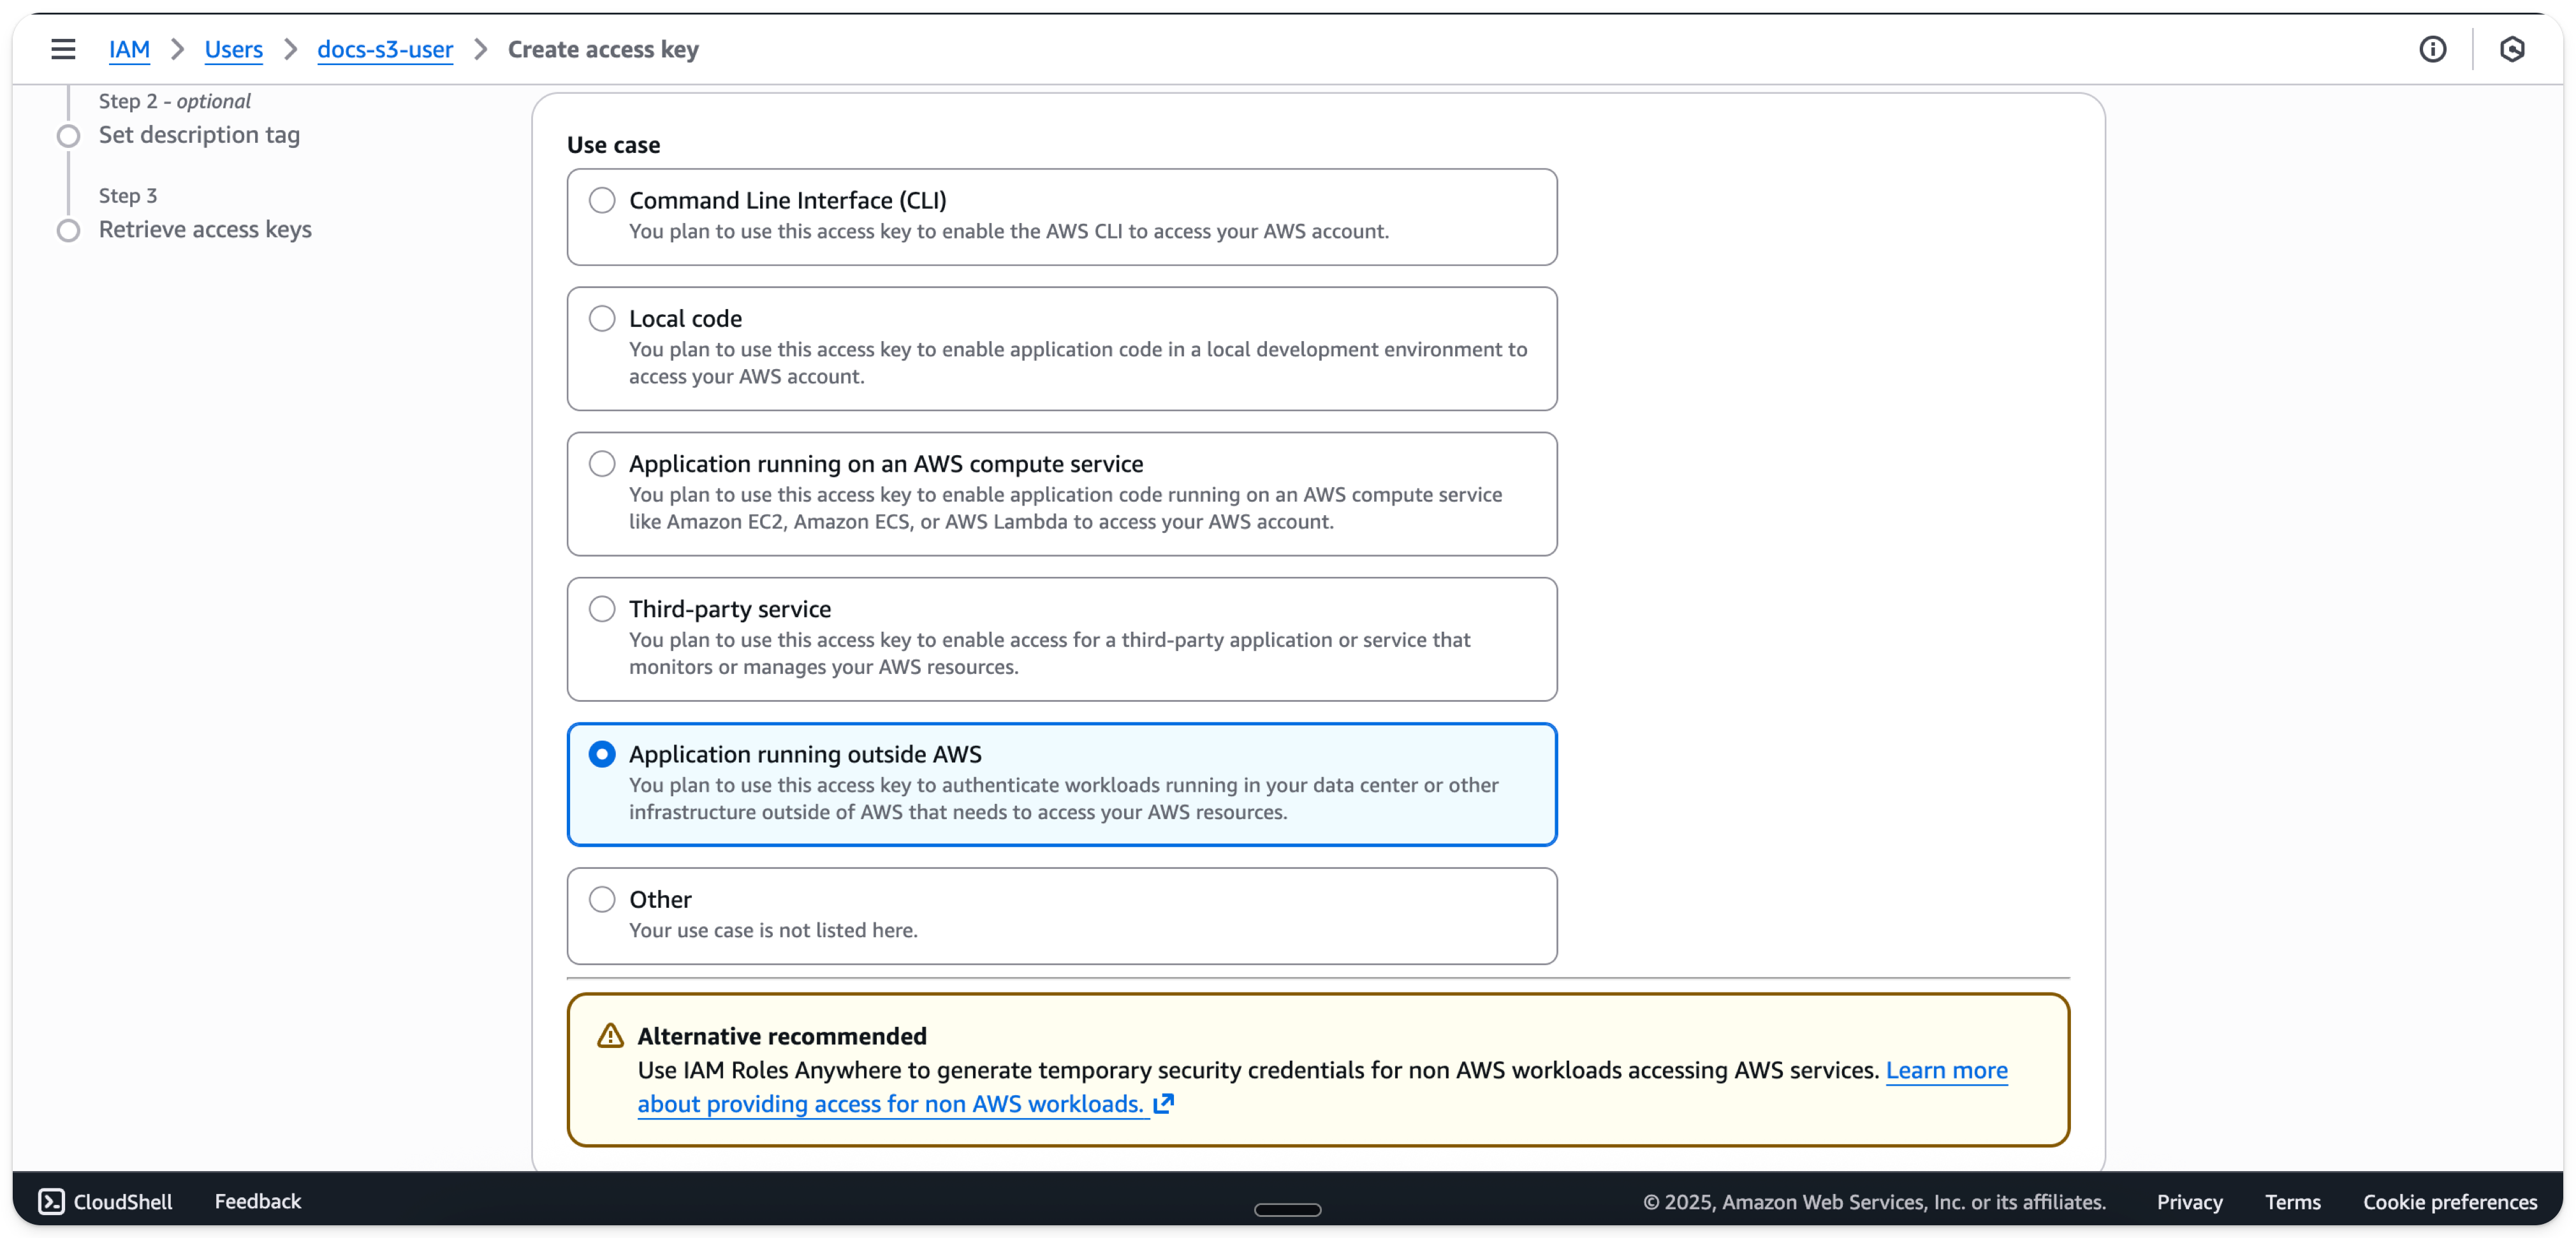
- Select
Create access key
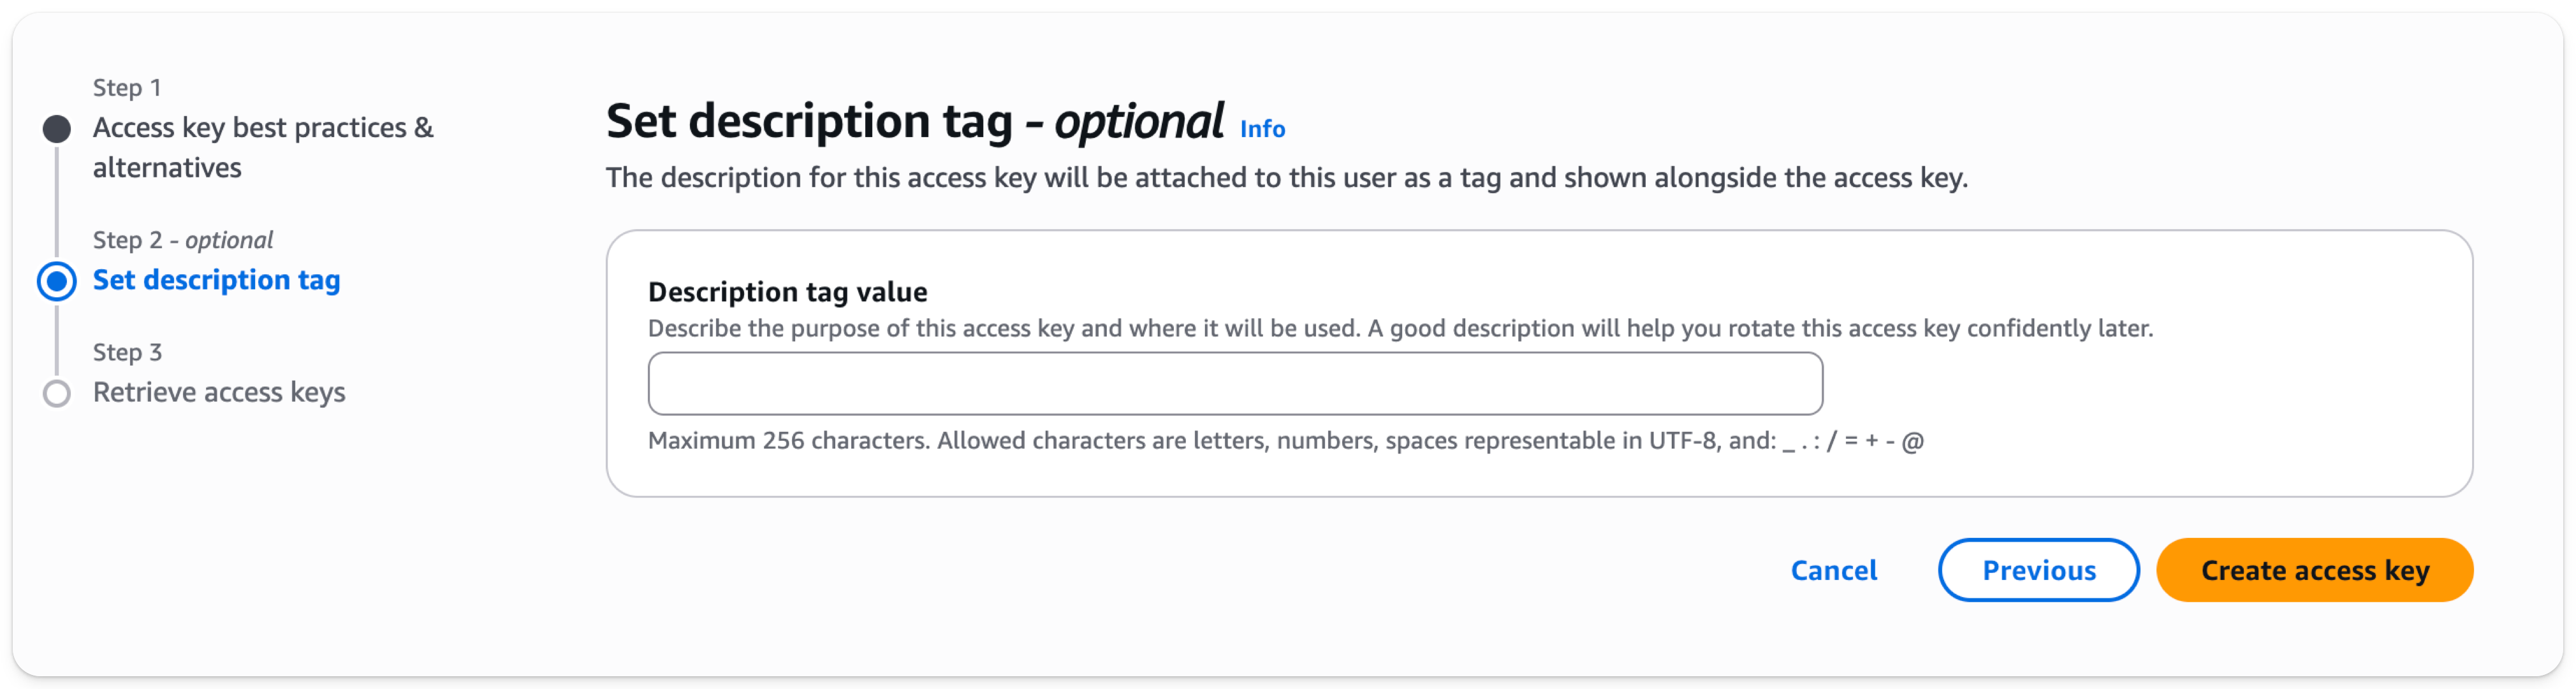
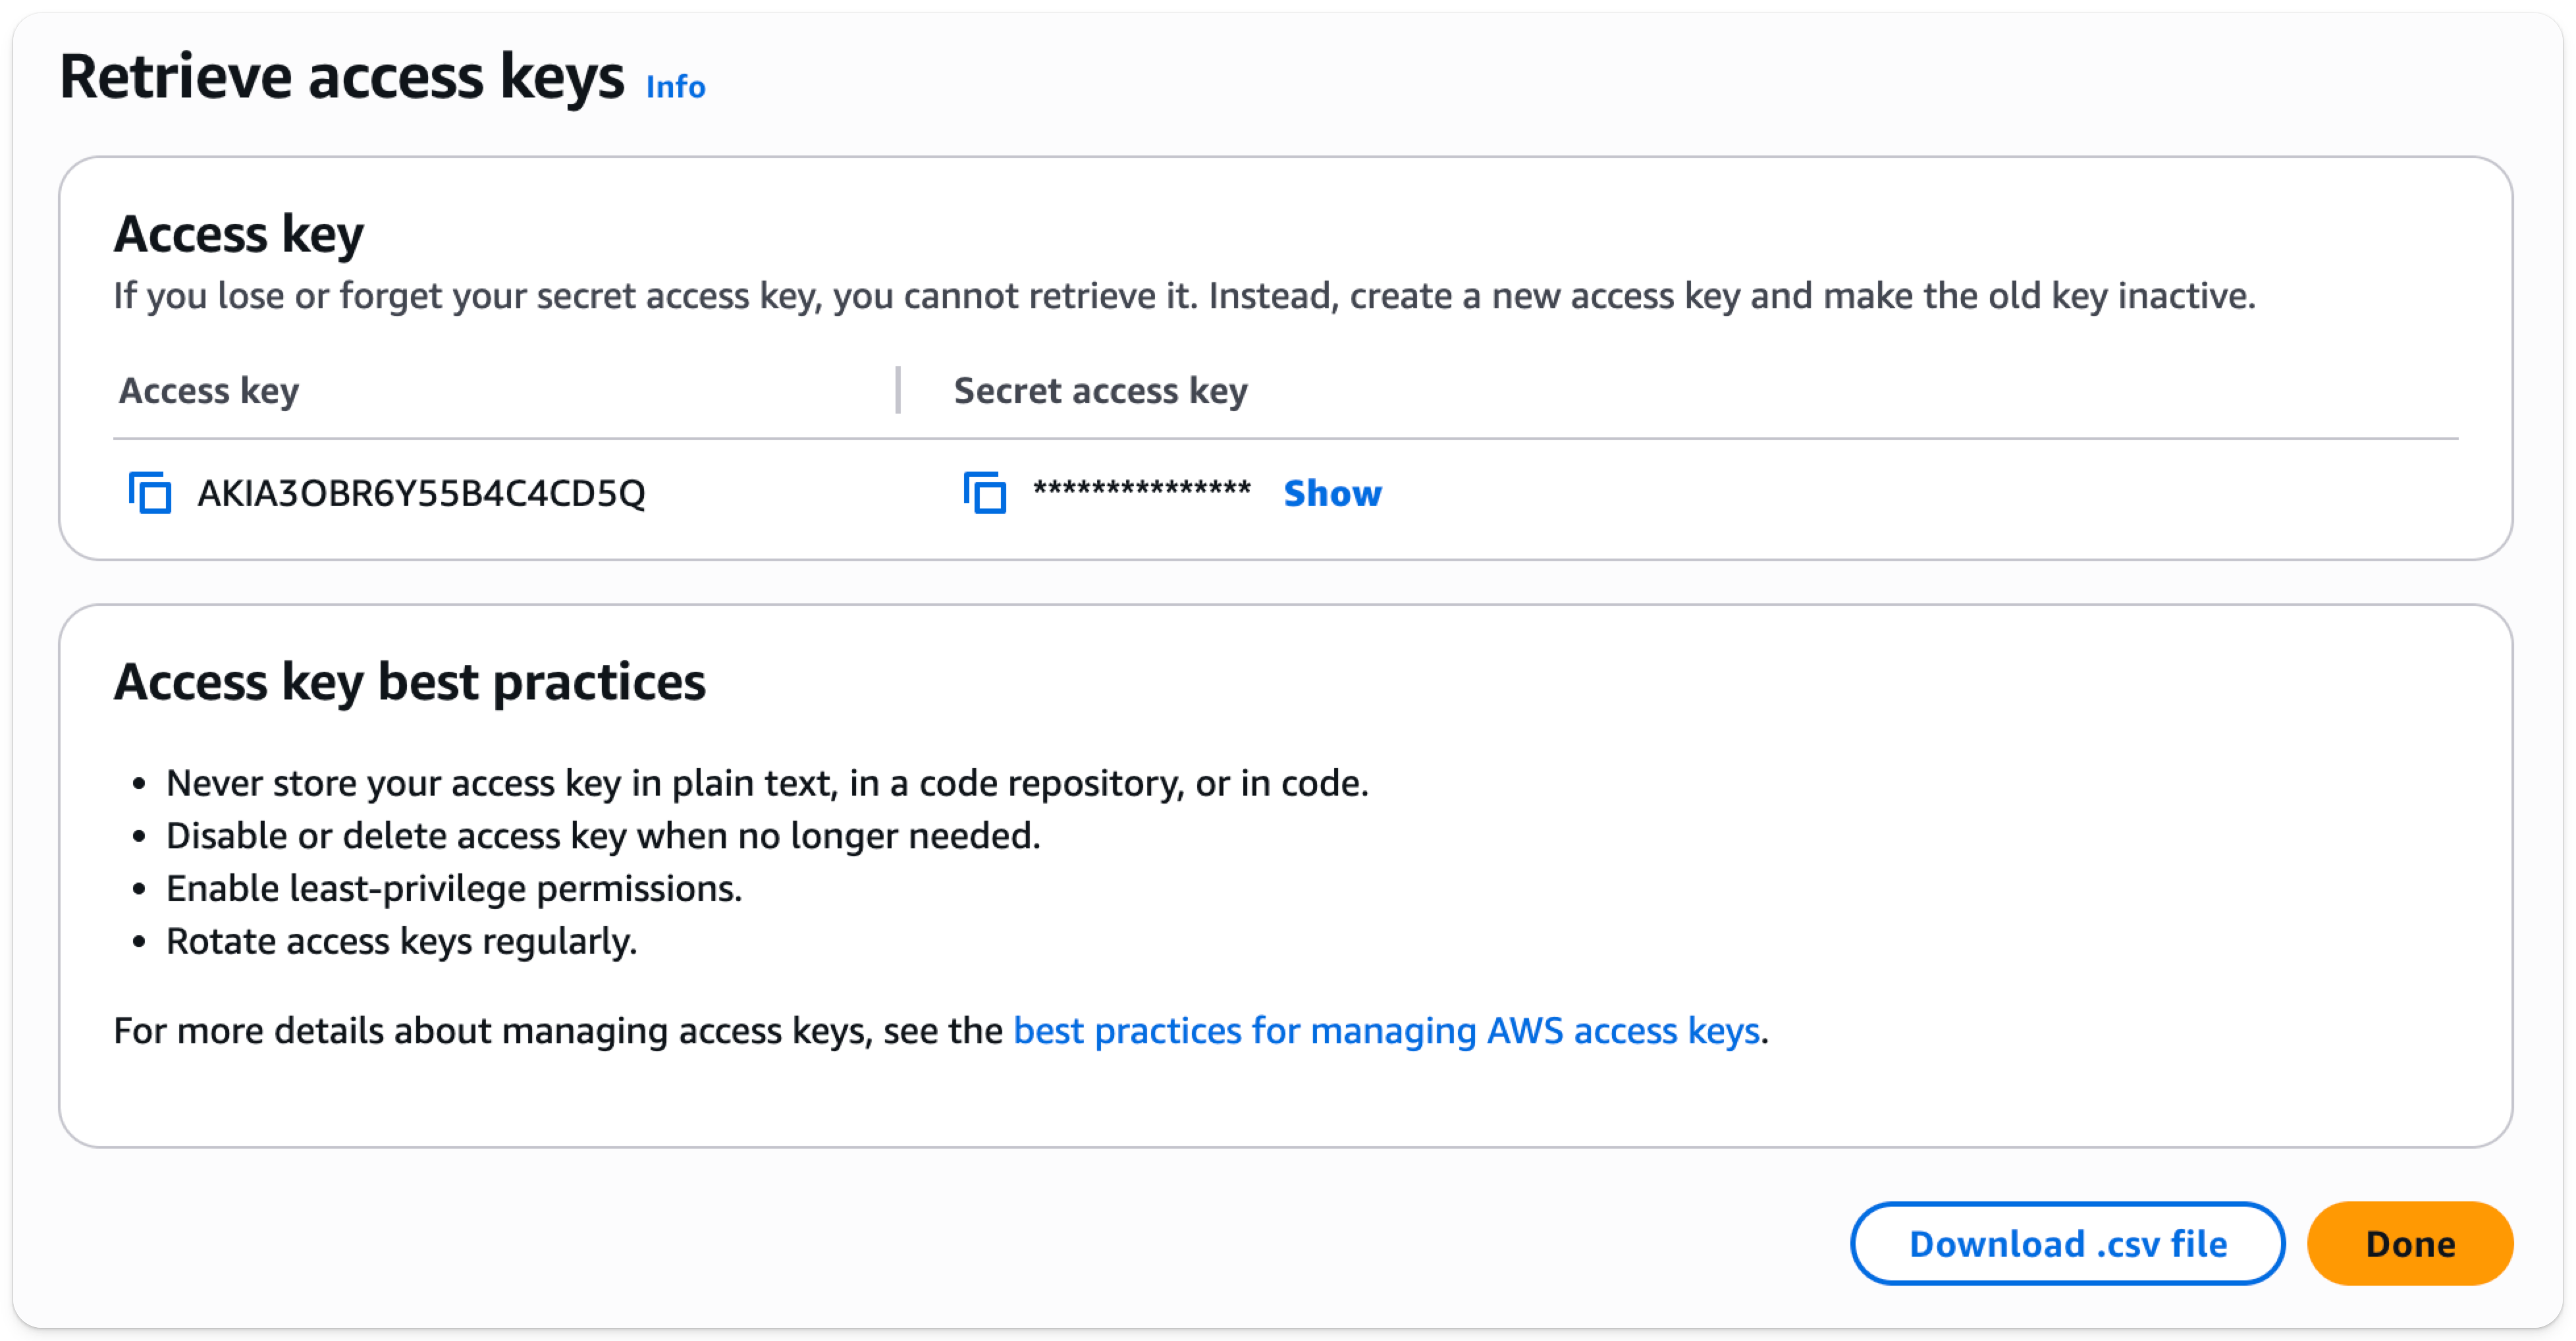
- Download your access key and secret as a .csv for use later
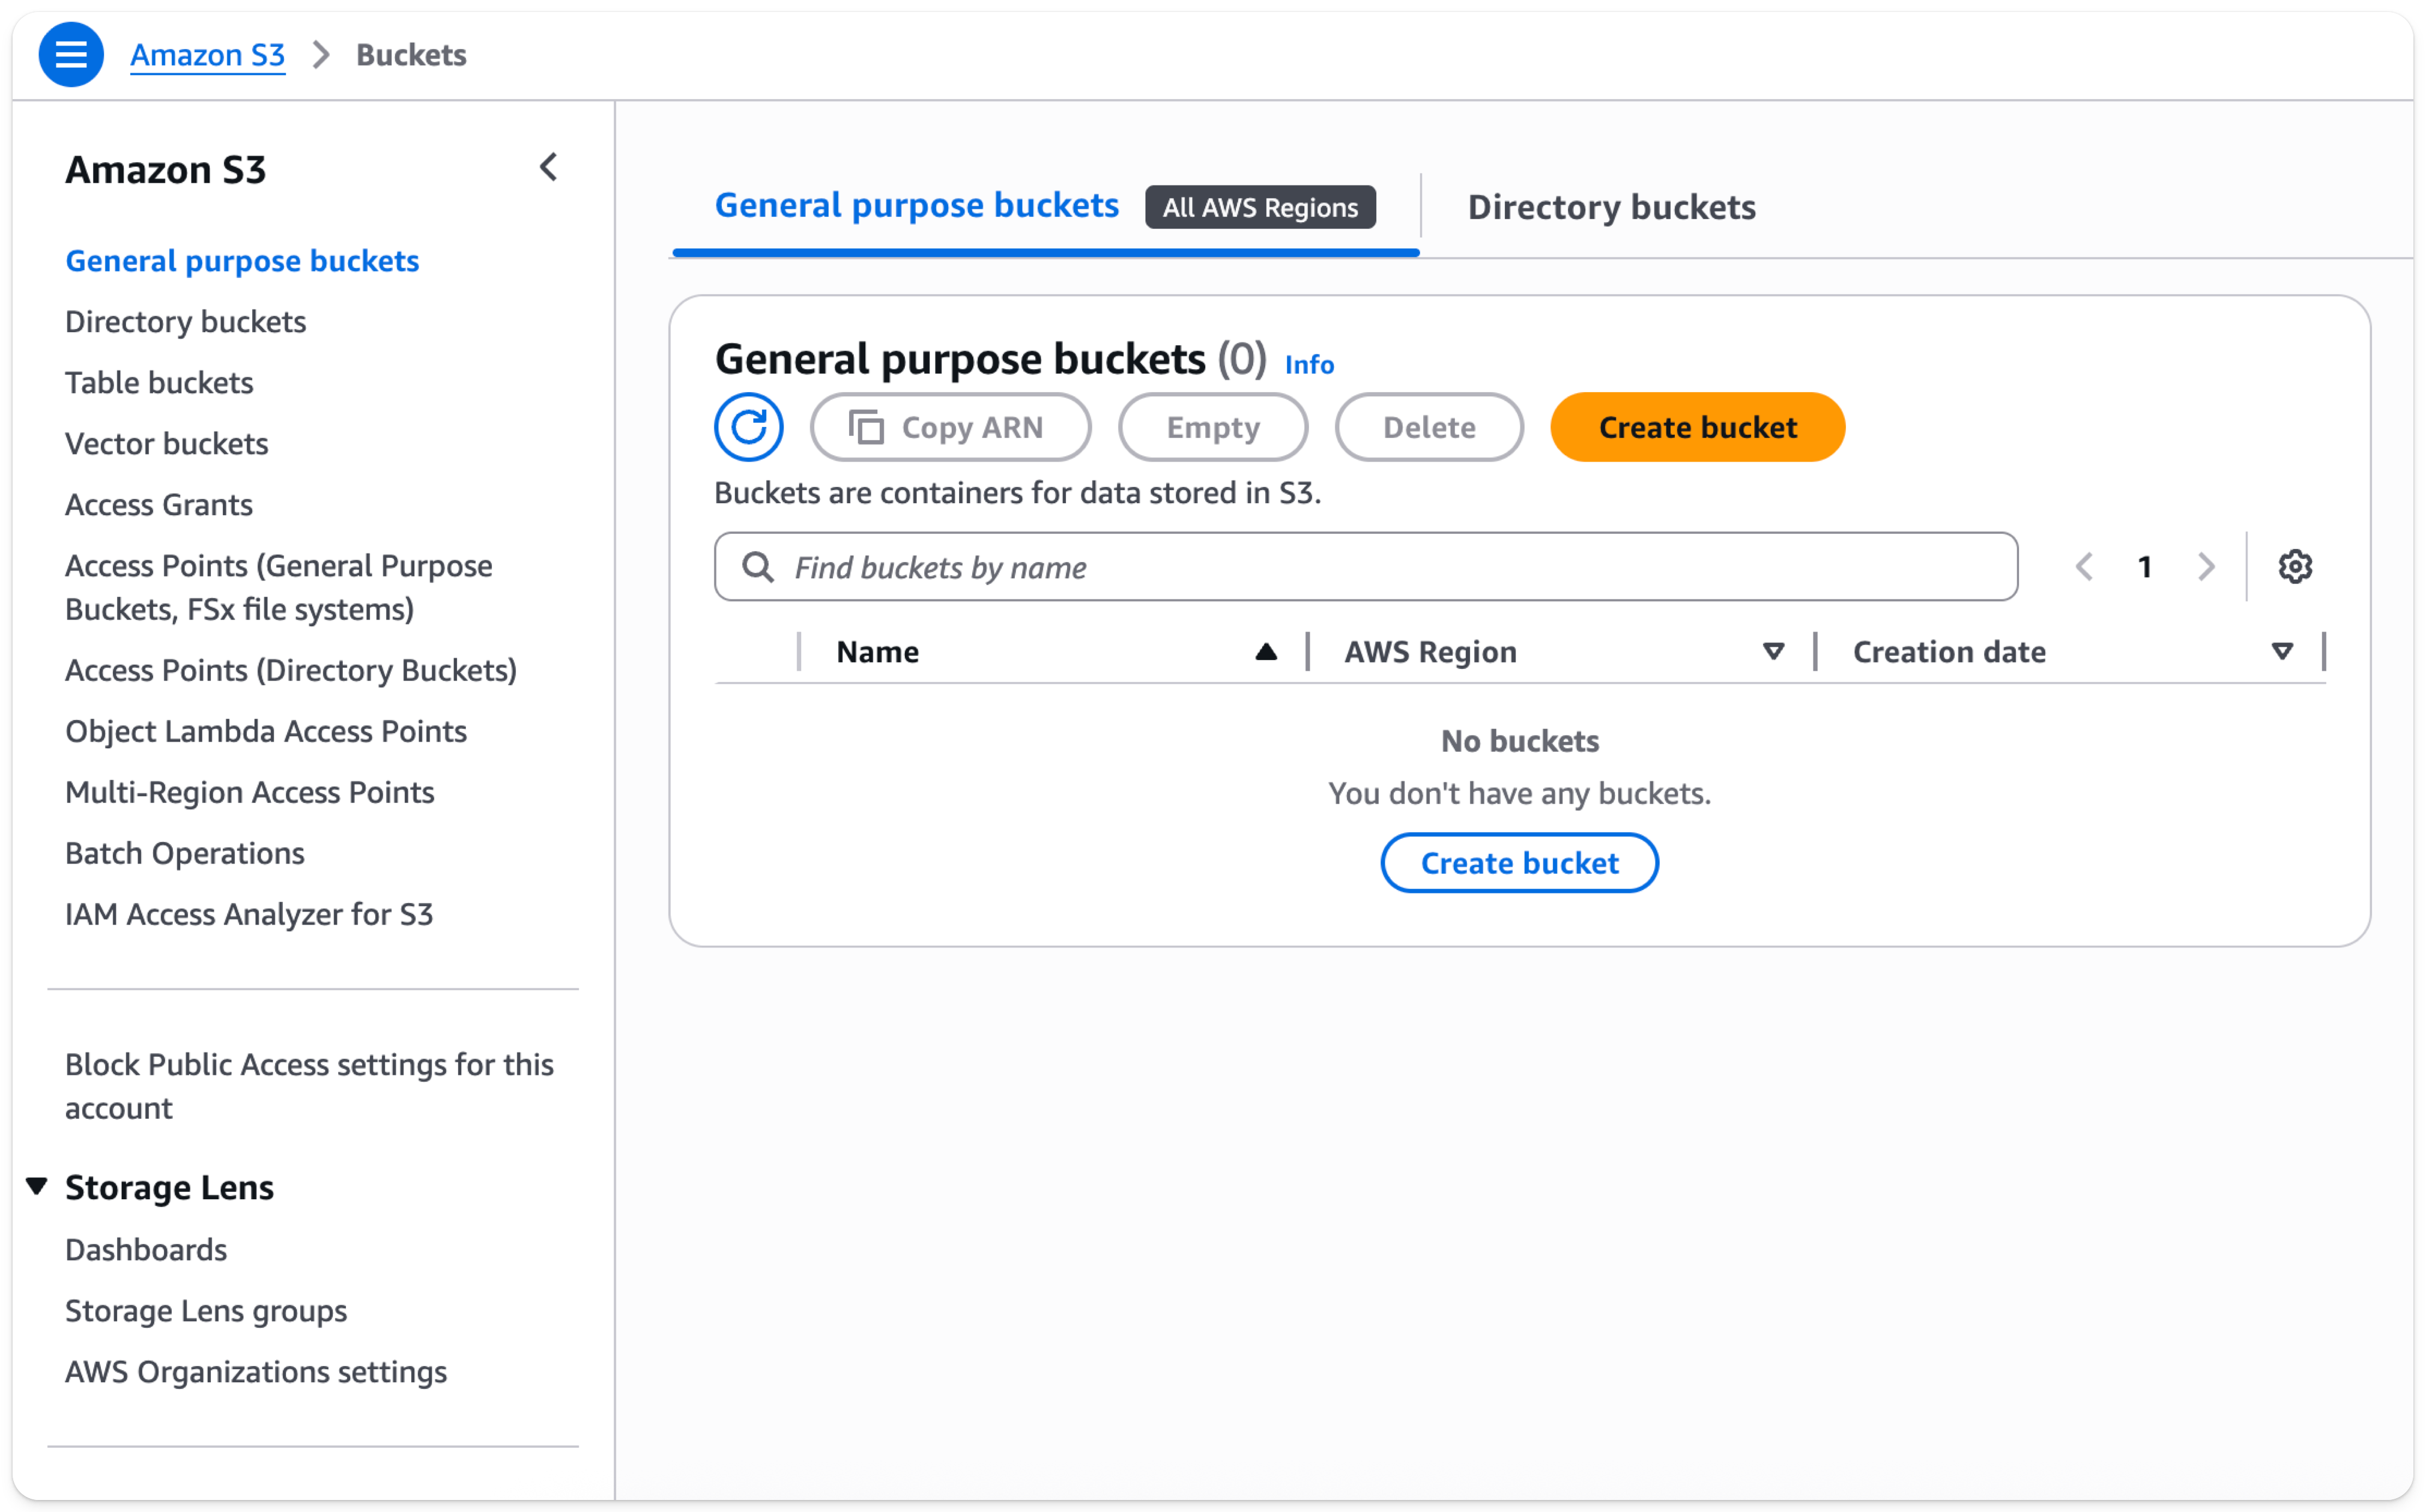
Create an S3 bucket
- In the S3 bucket section, select Create bucket
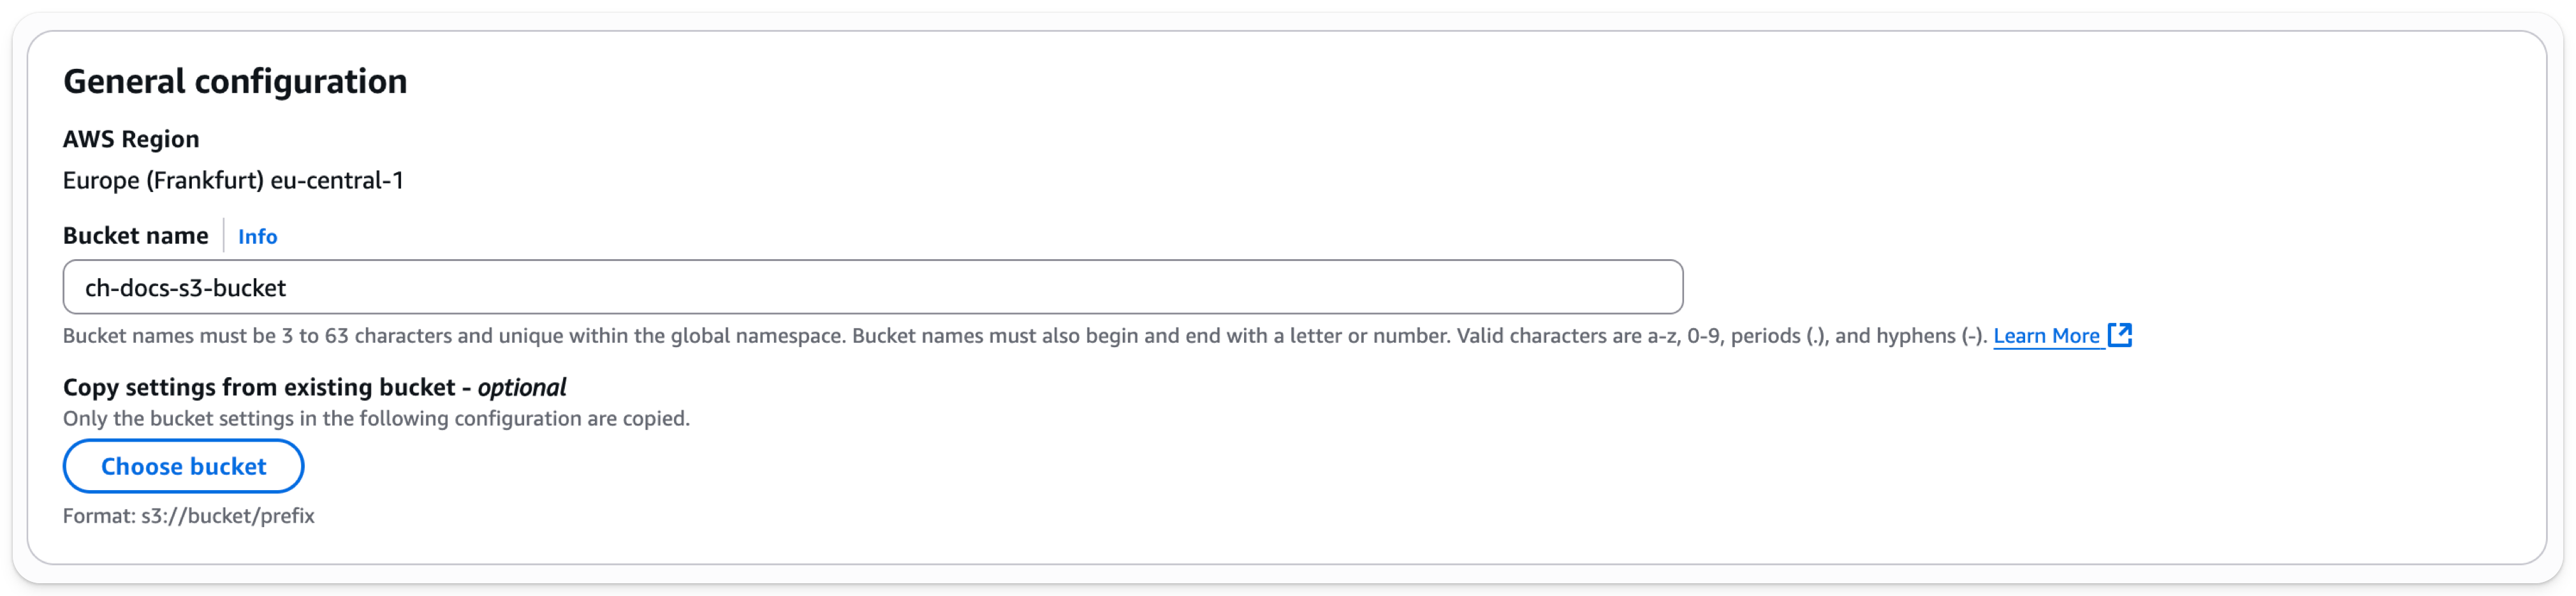
- Enter a bucket name, leave other options default
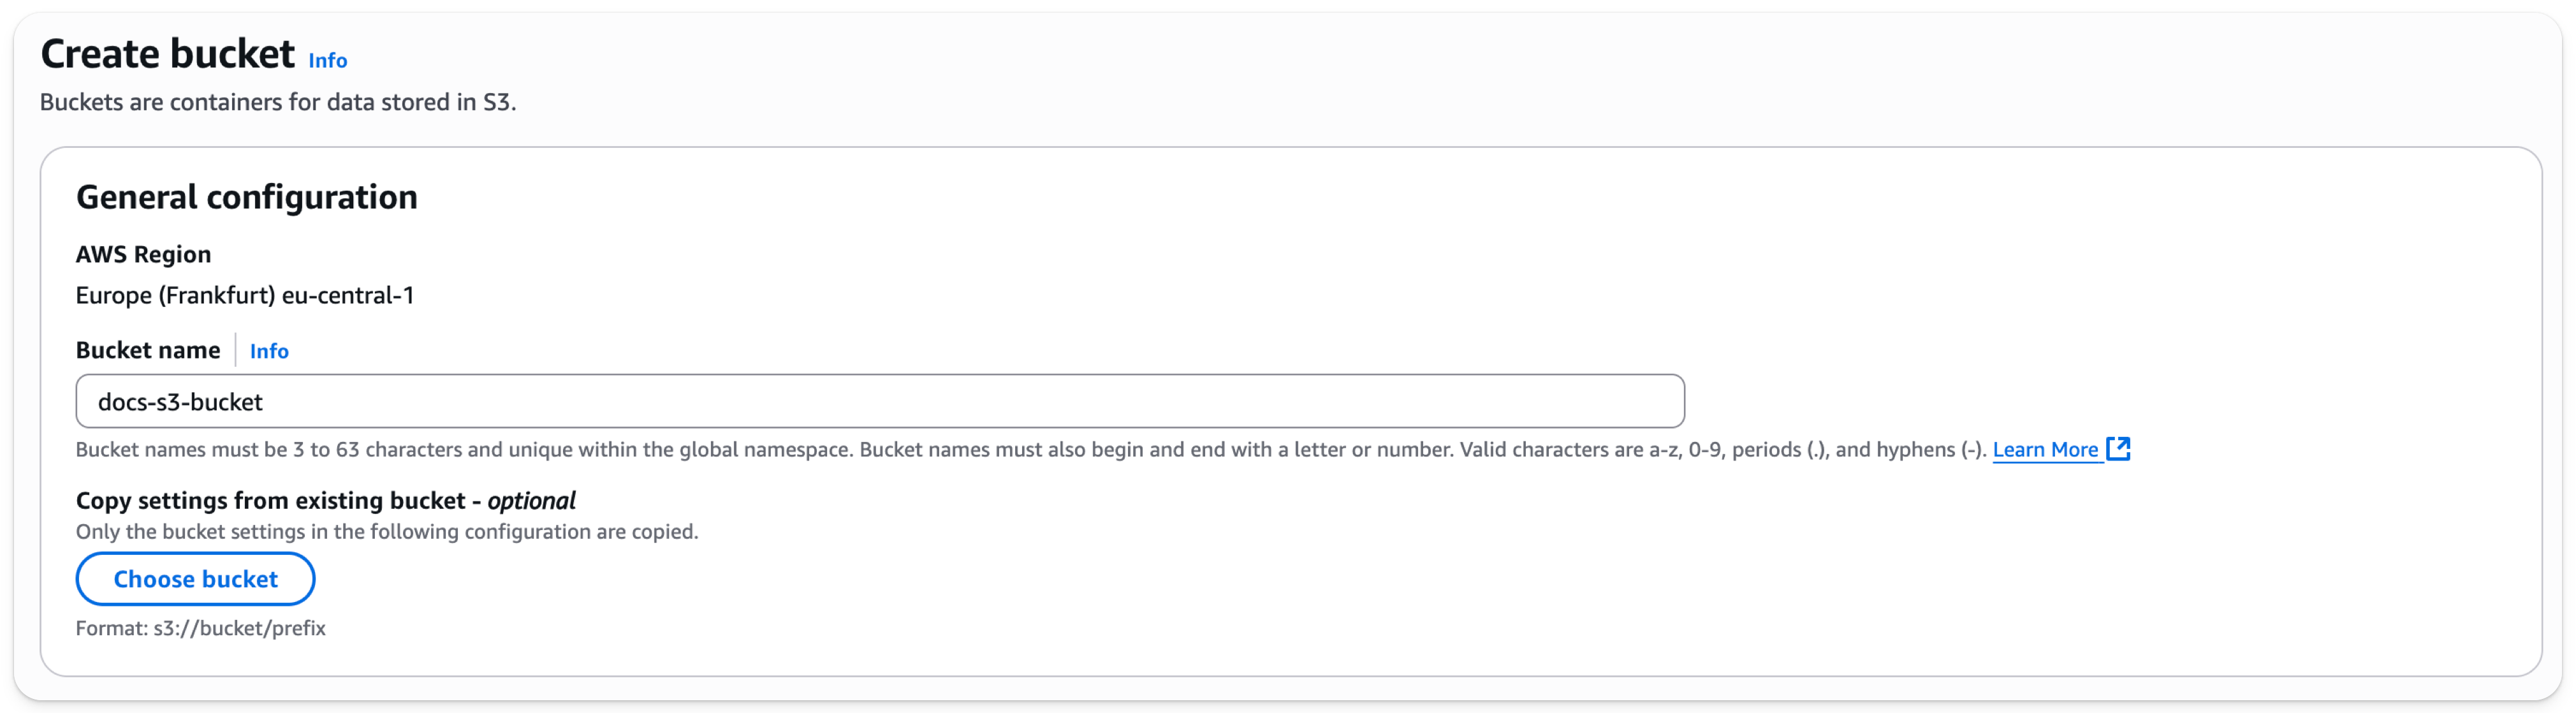
The bucket name must be unique across AWS, not just the organization, or it will emit an error.
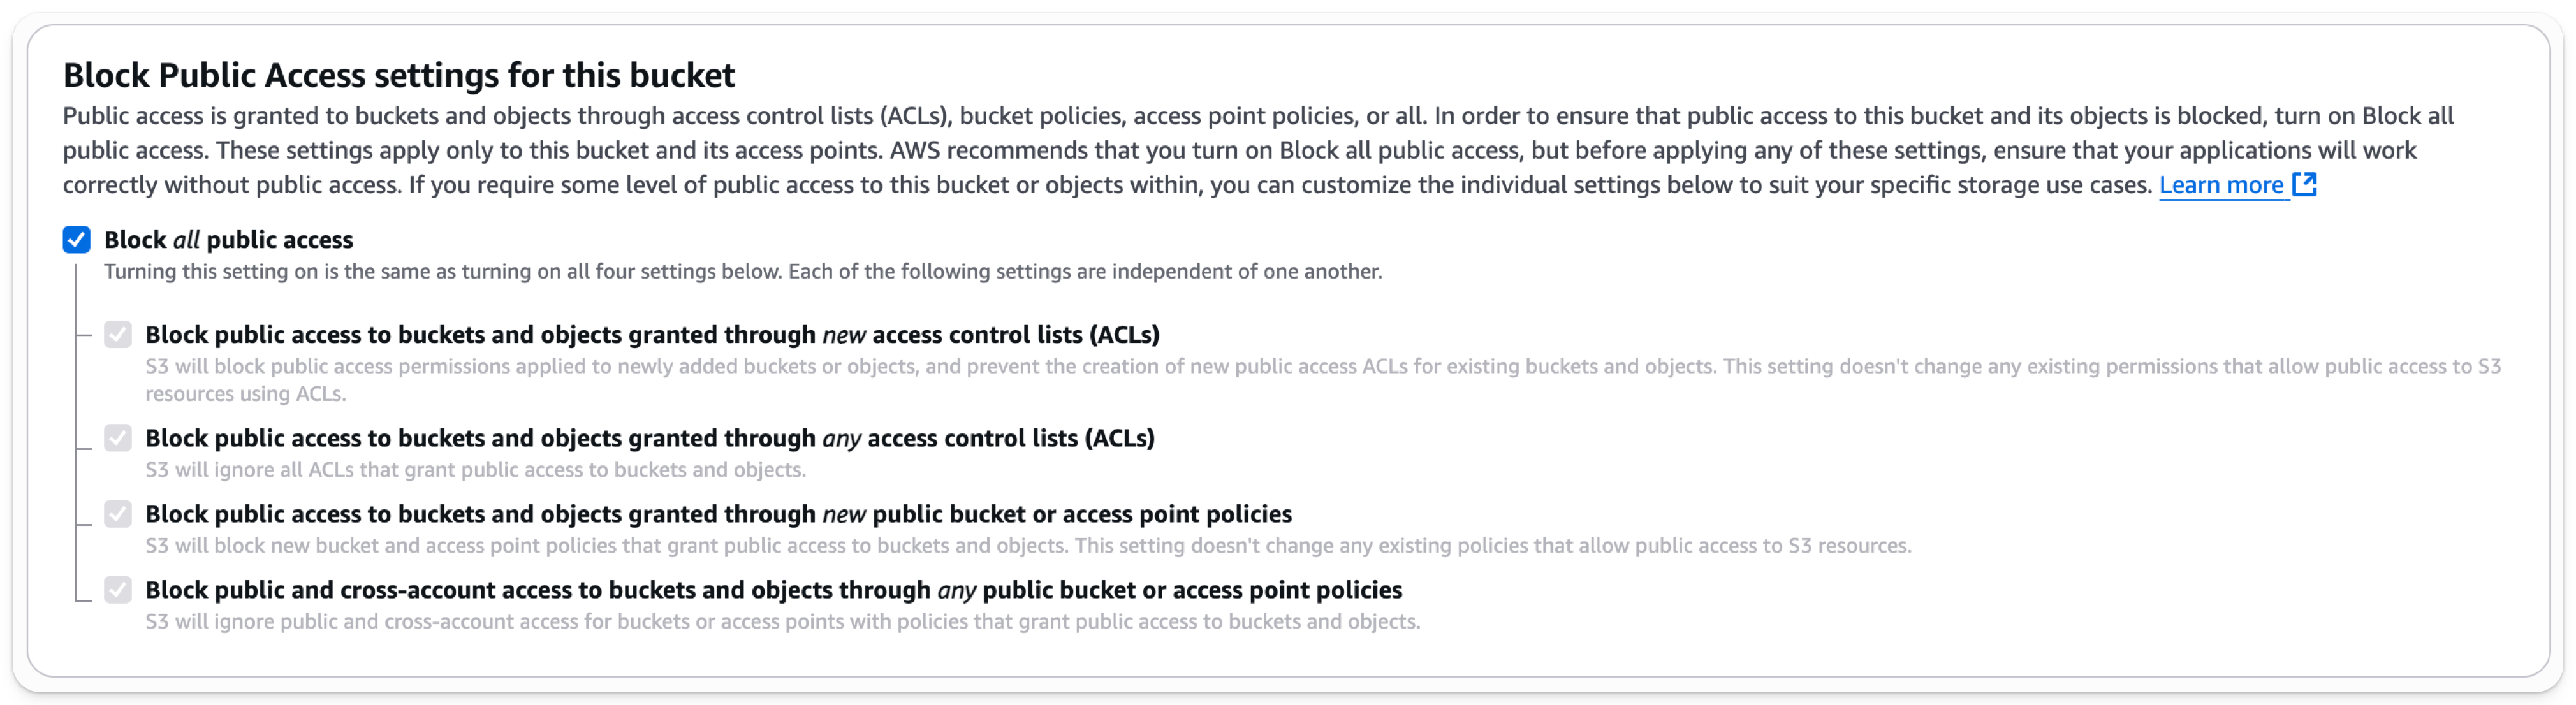
- Leave
Block all Public Accessenabled; public access is not needed.
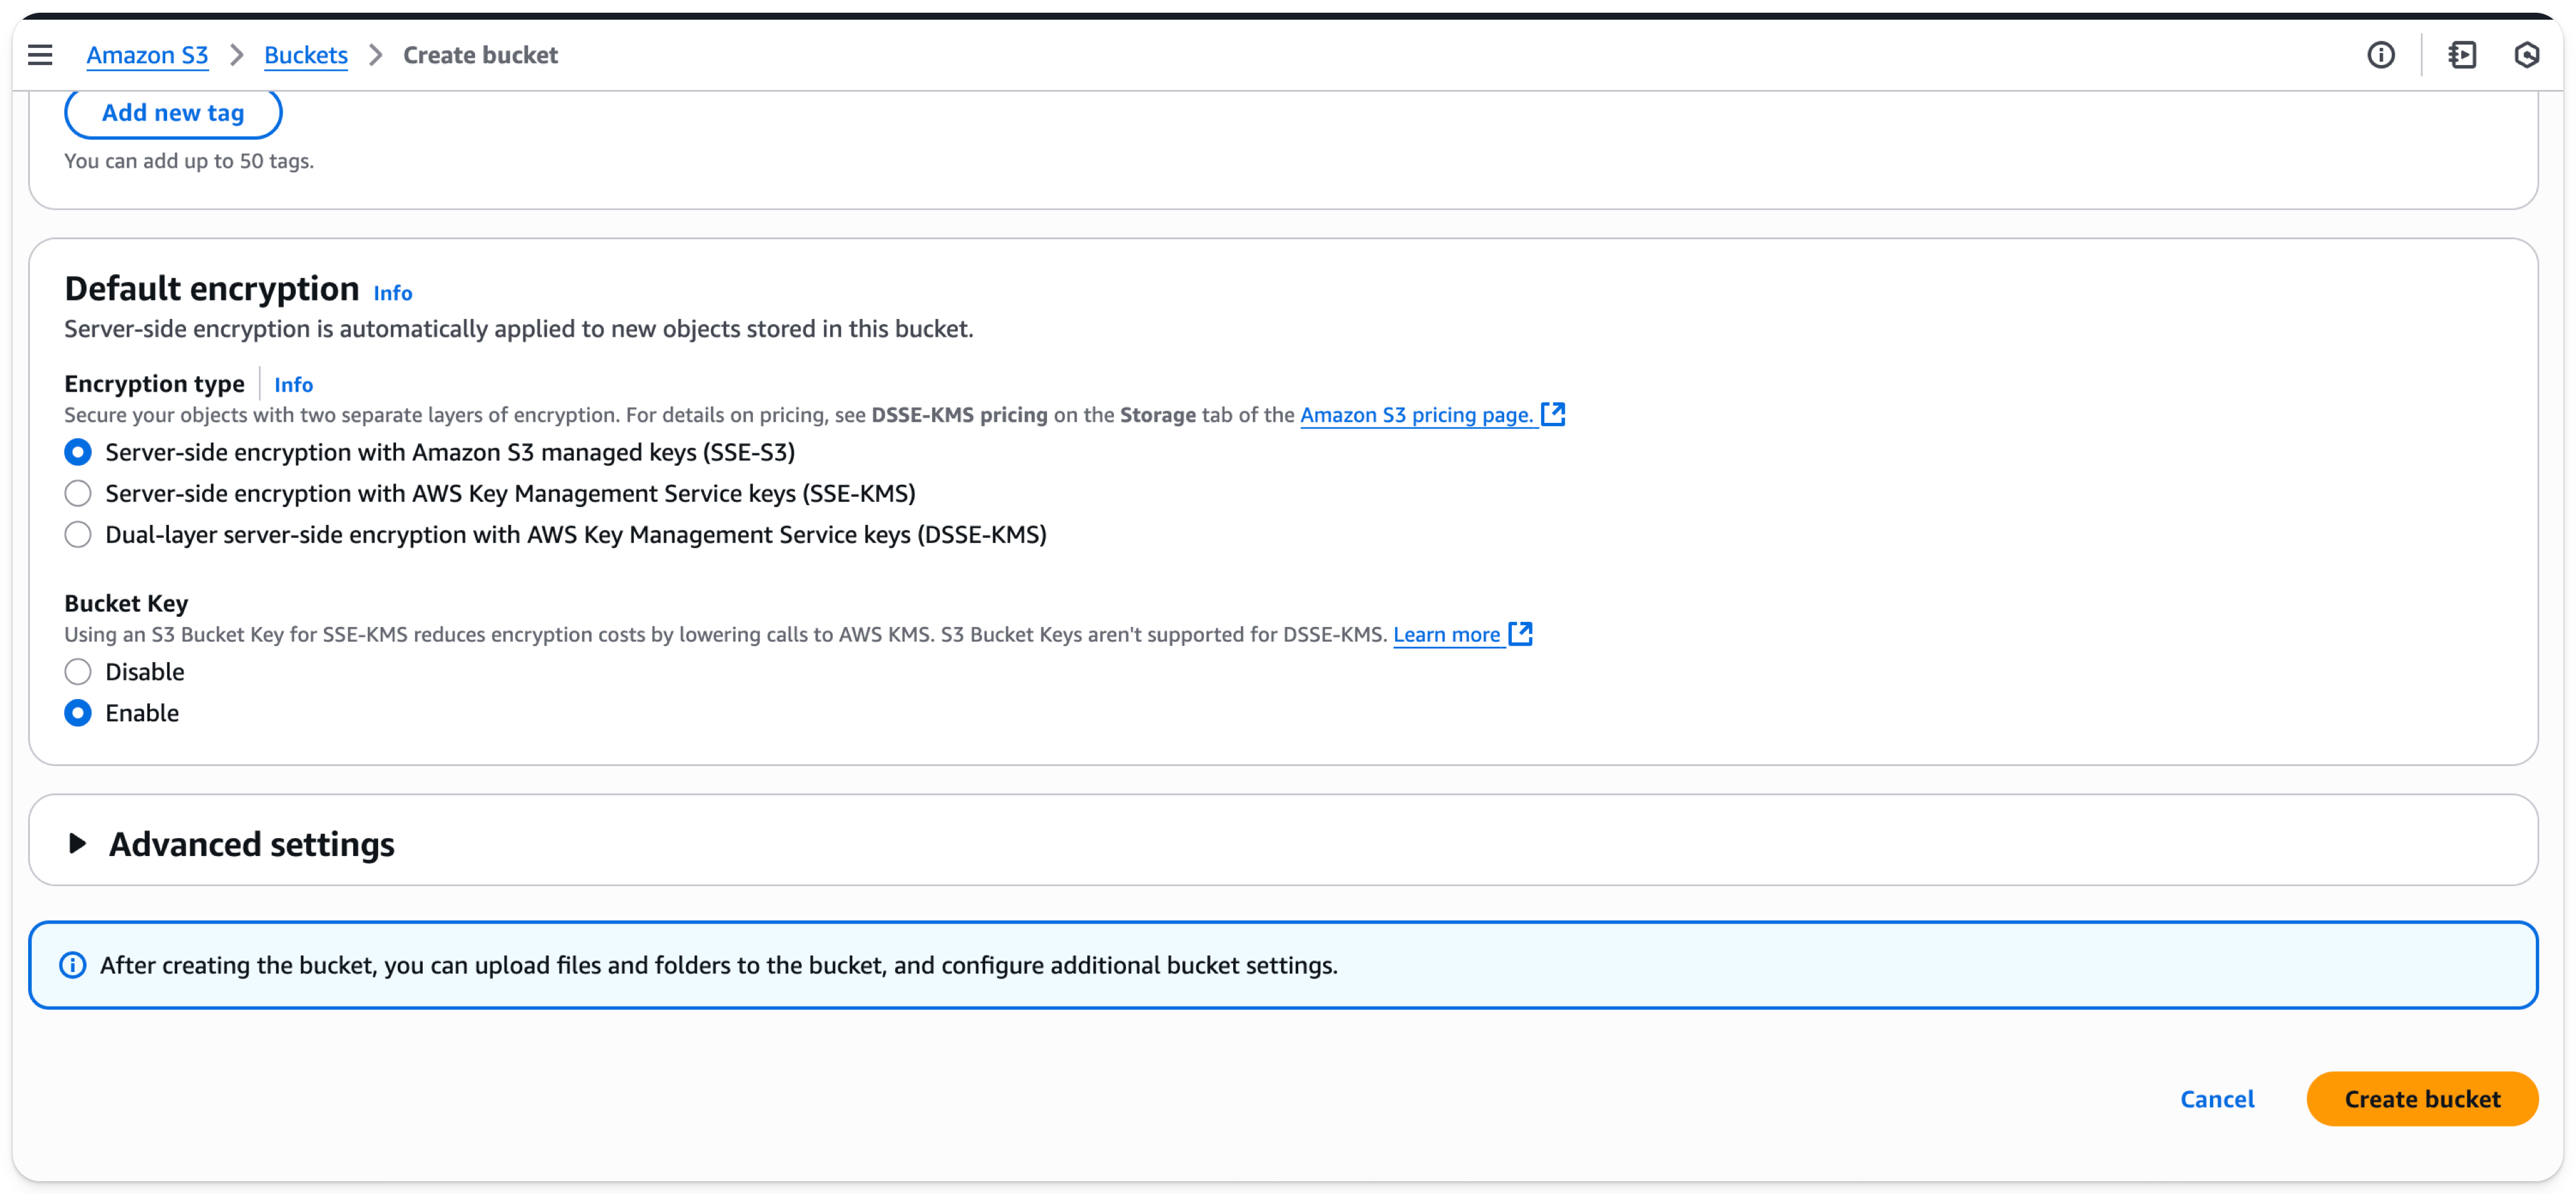
- Select Create Bucket at the bottom of the page
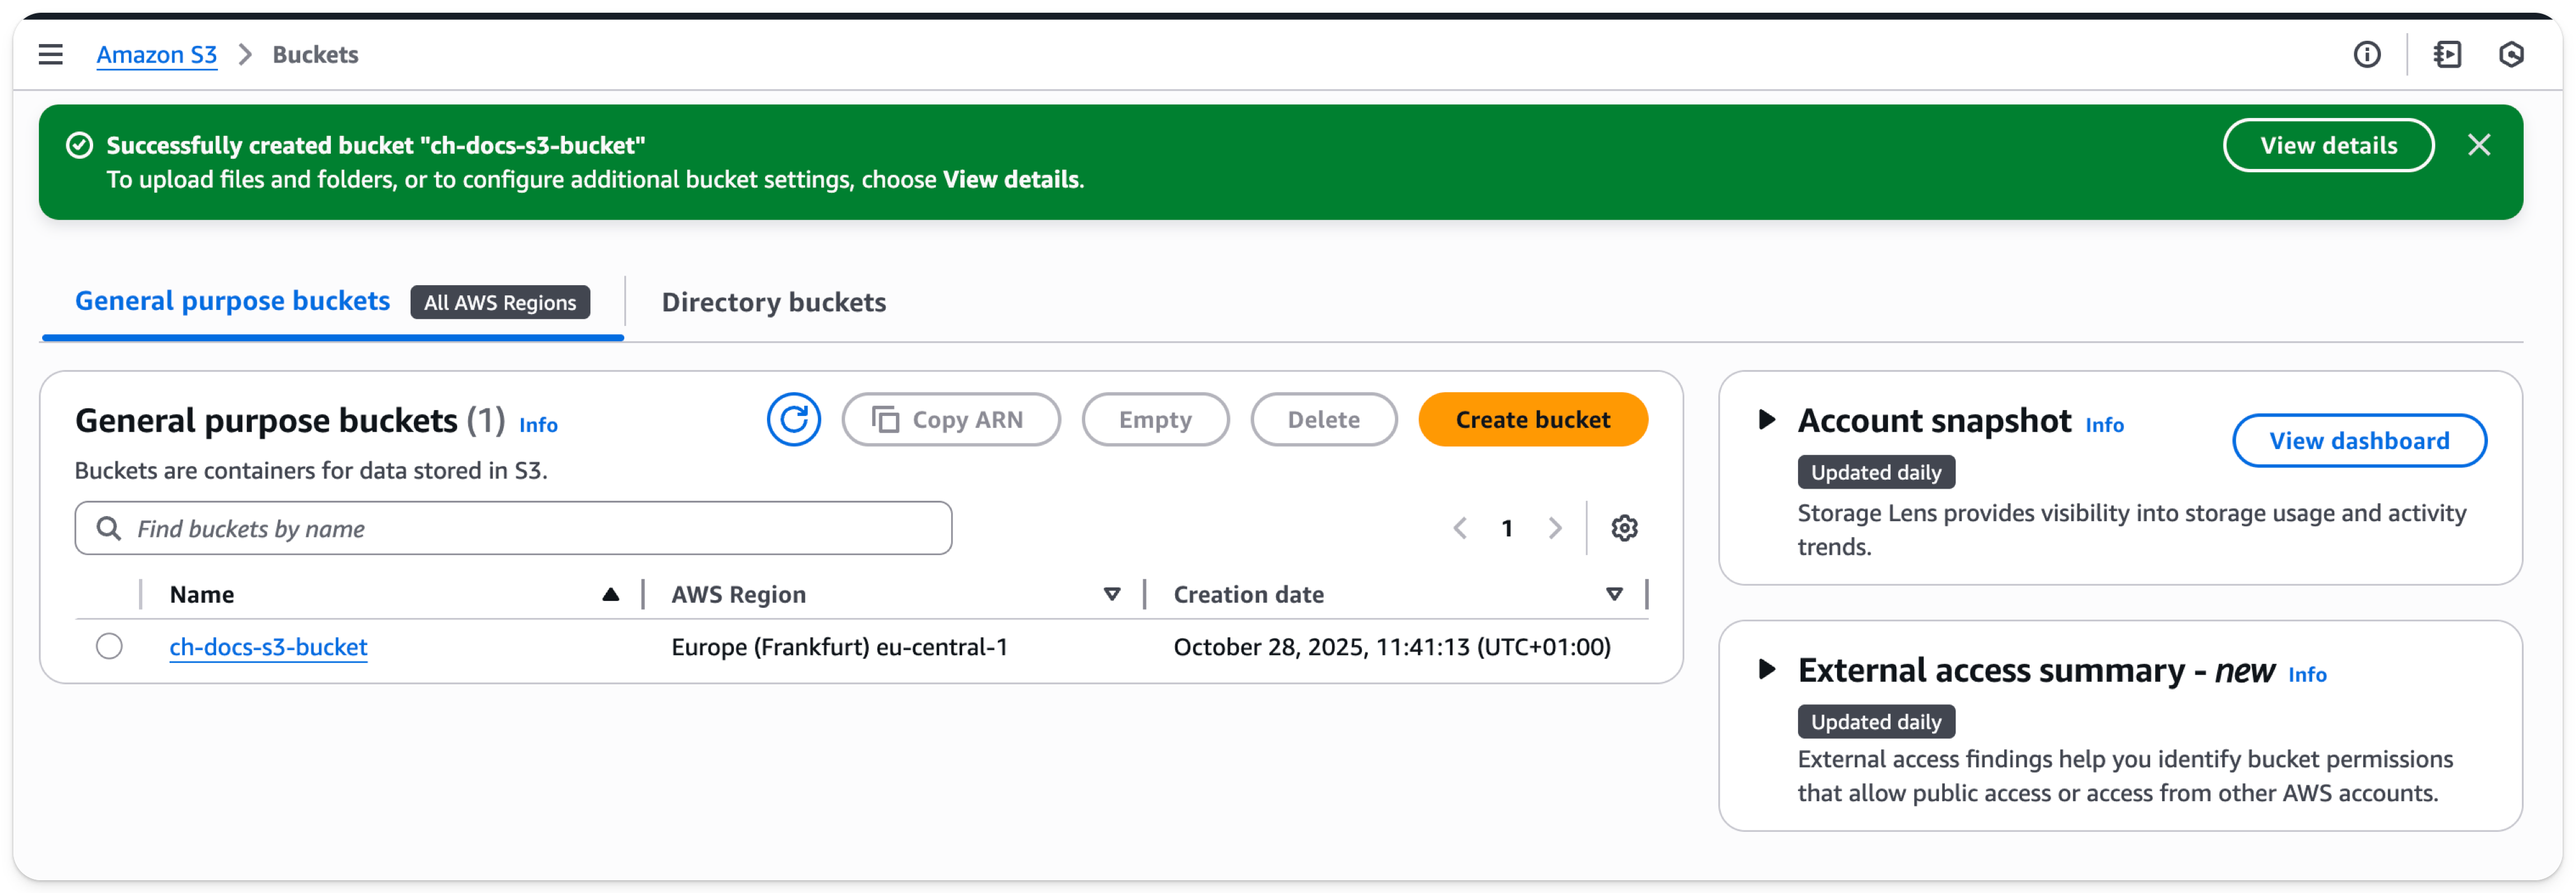
- Select the link, copy the ARN, and save it for use when configuring the access policy for the bucket
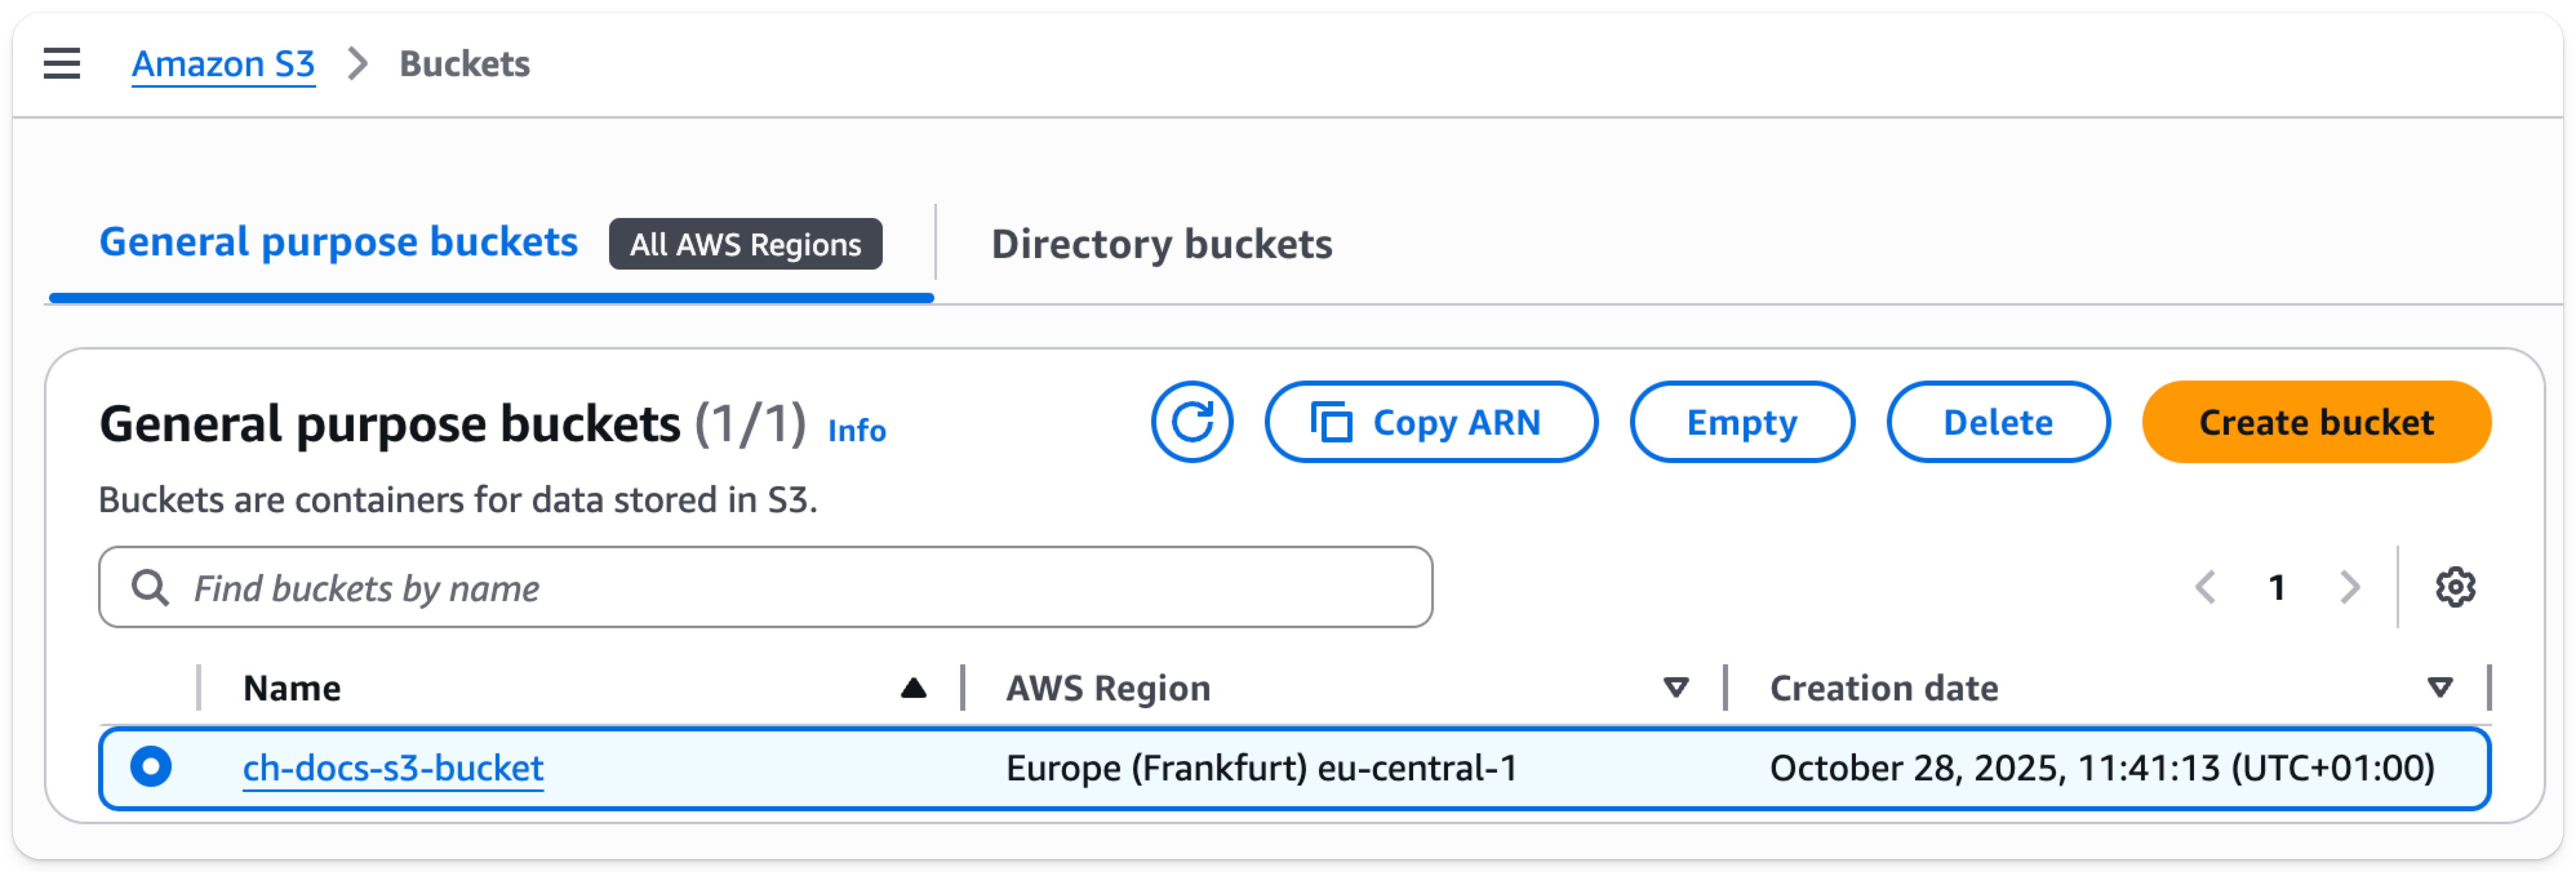
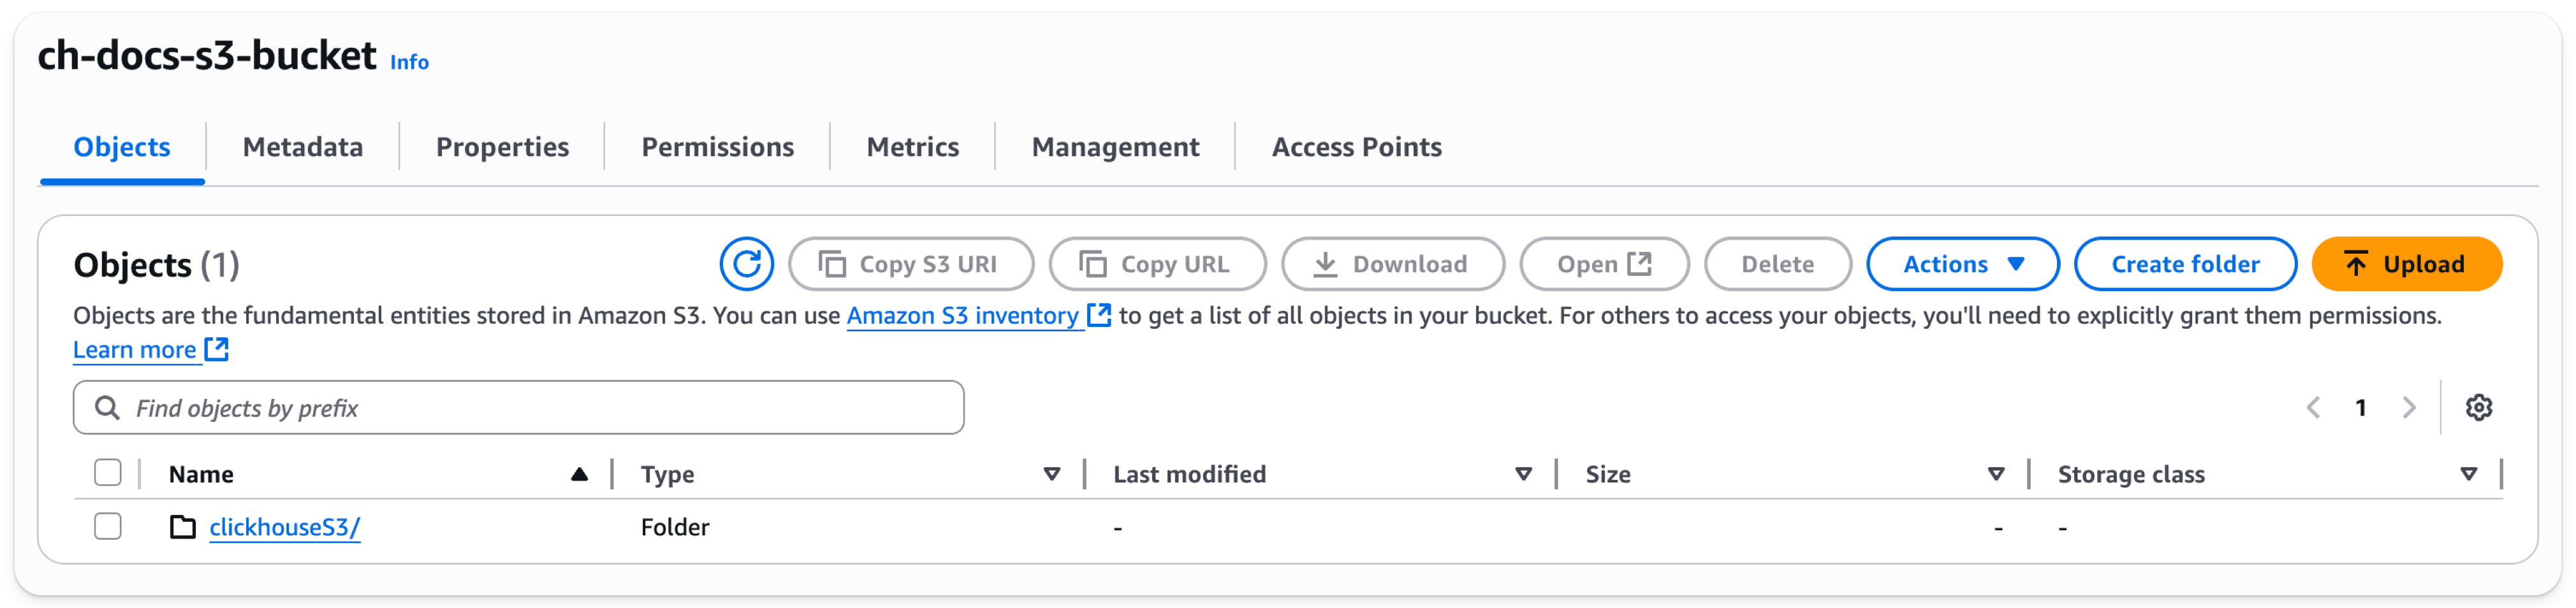
- Once the bucket has been created, find the new S3 bucket in the S3 buckets list and select the bucket name which will take you to the page shown below:
-
Select
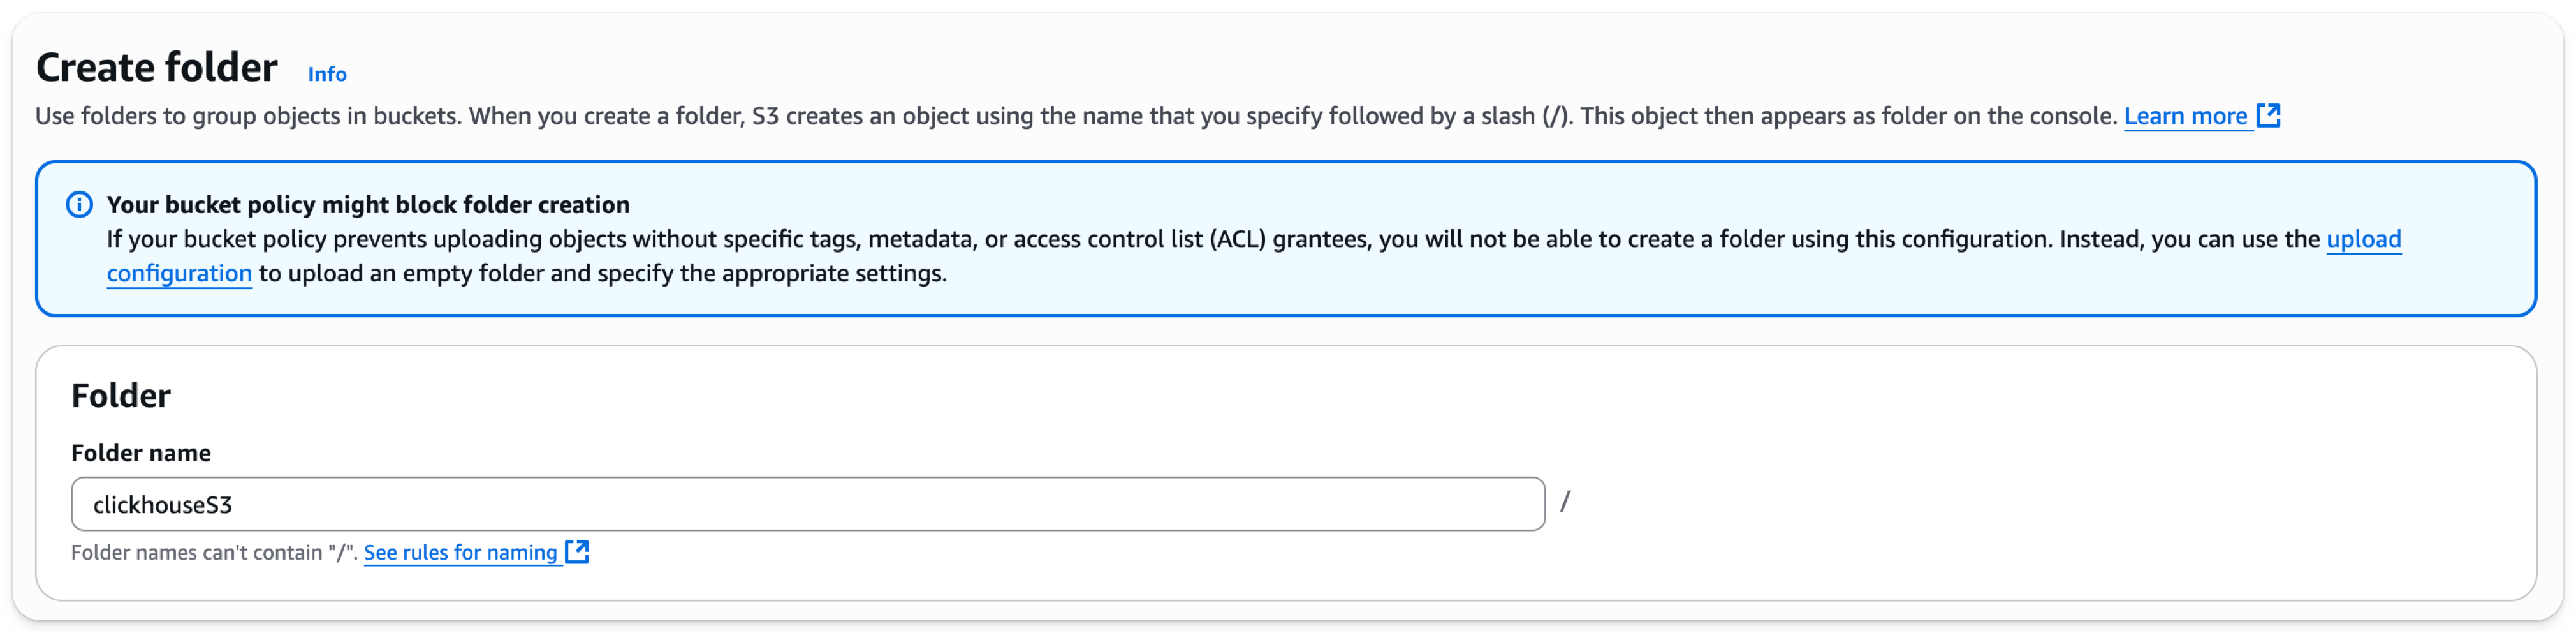
Create folder -
Enter a folder name that will be the target for the ClickHouse S3 disk or backup and select
Create folderat the bottom of the page
- The folder should now be visible on the bucket list

- Select the checkbox for the new folder and click on
Copy URL. Save the URL for use in the ClickHouse storage configuration in the next section.
- Select the Permissions tab and click on the Edit button in the Bucket Policy section
- Add a bucket policy, example below
The policy above makes it possible to perform all actions on the bucket
| Parameter | Description | Example Value |
|---|---|---|
| Version | Version of the policy interpreter, leave as-is | 2012-10-17 |
| Sid | User-defined policy id | abc123 |
| Effect | Whether user requests will be allowed or denied | Allow |
| Principal | The accounts or user that will be allowed | arn:aws:iam::782985192762:user/docs-s3-user |
| Action | What operations are allowed on the bucket | s3:* |
| Resource | Which resources in the bucket will operations be allowed in | "arn:aws:s3:::ch-docs-s3-bucket", "arn:aws:s3:::ch-docs-s3-bucket/*" |
You should work with your security team to determine the permissions to be used, consider these as a starting point. For more information on Policies and settings, refer to AWS documentation: https://docs.aws.amazon.com/AmazonS3/latest/userguide/access-policy-language-overview.html
- Save the policy configuration
